What To Put On The Back Of Bathroom Rugs: Best Non-Slip Ideas
The best thing to put on the back of a bathroom rug is a non-slip rug pad made for bathrooms and your type of flooring. A pad with open, breathable construction helps hold the rug in place without trapping as much moisture as a solid sheet.
For a small bath mat, you can also use a rug with a textured latex, silicone, or PVC backing, as long as the backing is approved for your floor. Avoid loose towels, plastic bags, cardboard, and smooth shelf liner. These materials can slide, bunch, or trap water.
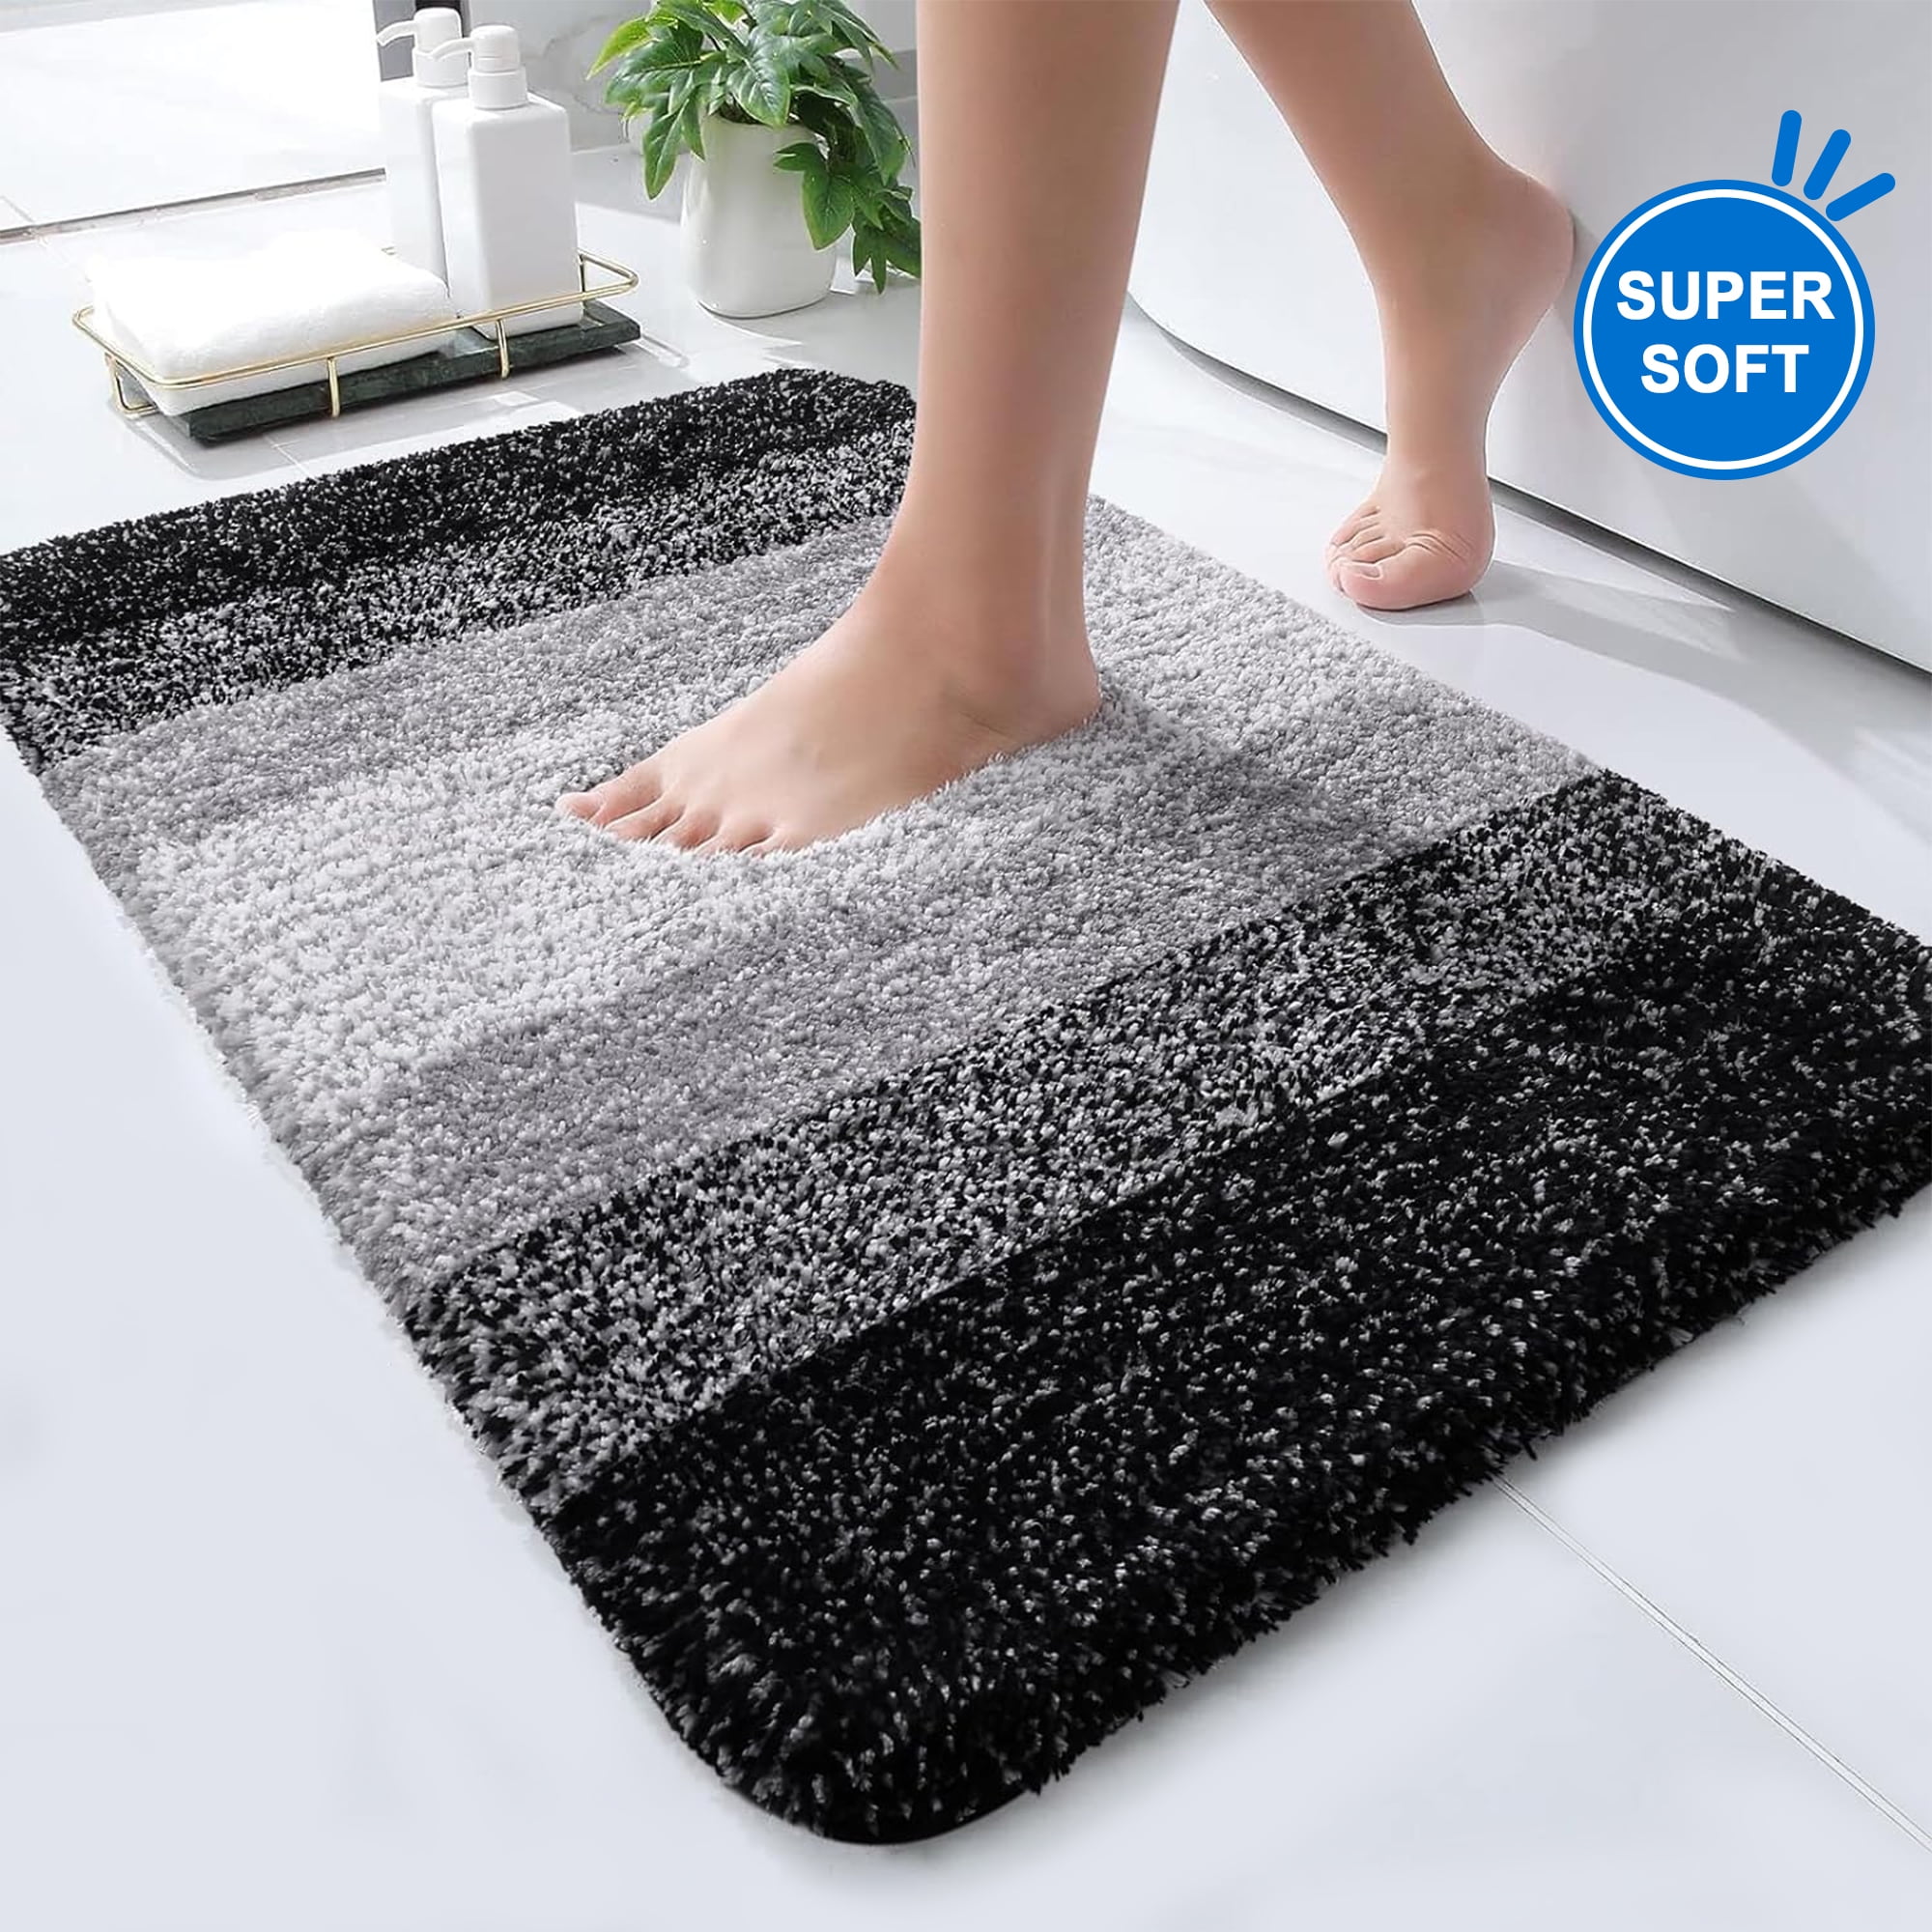
Best Materials for the Back of a Bathroom Rug
The right backing depends on the rug, floor, moisture level, and how often the rug gets wet. No single material works safely on every bathroom floor.
1. A bathroom-safe non-slip rug pad
A non-slip rug pad is usually the best choice for a washable bathroom rug or small area rug. Look for a pad that is:
- Labeled for bathroom or damp-area use
- Slightly smaller than the rug
- Thin enough to prevent a trip
- Designed for your flooring type
- Washable or easy to clean
- Open or mesh-like, rather than fully sealed
A good pad grips both the floor and the rug. It also lets some air move under the rug, which can help the floor and rug dry after use.
Do not let the pad extend beyond the rug. An exposed edge can catch a toe or collect water.
2. Silicone or latex-backed rugs
Some bathroom rugs have a non-slip backing already attached. Common backing materials include:
- Silicone
- Latex
- Natural rubber
- Synthetic rubber
- PVC or vinyl
These backings can work well, but the label matters. Some rubber and latex products can discolor or mark certain vinyl floors, painted floors, or delicate finishes. A floor maker may also warn against rubber-backed products.
Check the care label and flooring instructions before use. Test the rug in a hidden spot for several days if the floor maker gives no clear answer.
3. A thin rubber or natural-rubber rug pad
A thin rubber pad may provide strong grip under a rug. It can be useful on ceramic tile or porcelain tile when the product is made for that surface.
However, rubber is not automatically safe for every floor. It may react with some vinyl flooring finishes. Moisture trapped between rubber and the floor can also leave marks or support mildew.
Use rubber only when the pad states that it is suitable for your floor. Lift the rug and pad often so both surfaces can dry.
4. Silicone caulk dots for a DIY backing
For a lightweight fabric rug, small dots of 100% silicone caulk can create a textured backing. This is a DIY option, not the first choice for a high-use bathroom.
To try it:
- Clean and dry the back of the rug.
- Place the rug on wax paper or another protected work surface.
- Apply small, evenly spaced dots or short lines of silicone.
- Keep the silicone away from the rug’s outer edge.
- Let it cure fully according to the product label.
- Test the rug on a clean, dry area before regular use.
Silicone needs full curing time. Do not place the rug in a wet bathroom while the product is still soft or giving off strong fumes.
This method can make washing and drying harder. It may also damage some floors if the silicone grips too strongly or transfers residue. Do not use it on an expensive rug or a floor with a sensitive finish unless the materials are confirmed compatible.

What to Use on Different Bathroom Floors
The floor changes which rug backing is safest. A material that works on tile may stain, stick to, or damage another surface.
| Bathroom floor | Usually suitable | Use caution with |
|---|---|---|
| Ceramic or porcelain tile | Breathable non-slip pad, tile-safe rubber pad, silicone-backed rug | Thick pads that create a trip edge |
| Natural stone | Stone-safe pad approved by the floor maker | Rubber, latex, adhesives, and dyes that may stain |
| Luxury vinyl plank or tile | Floor-approved non-slip pad made for vinyl | Rubber, latex, PVC, and adhesive products |
| Sheet vinyl | Vinyl-safe pad with no migrating plasticizers | Rubber-backed mats and strong tape |
| Painted wood | Thin breathable pad approved for finished wood | Moisture-trapping plastic or rubber sheets |
| Laminate | Thin, breathable pad labeled for laminate | Standing water and solid waterproof backing |
| Sealed concrete | Non-slip pad that does not retain water | Pads that curl or leave adhesive residue |
This table gives general direction, not a guarantee. Flooring finishes vary. Follow the flooring manufacturer’s care guide when it conflicts with a general recommendation.
Tile floors
Tile often gives a rug pad a firm surface to grip. A thin mesh pad can work well, especially when the tile is clean and dry.
Grout lines can make a rug feel uneven. A pad can reduce movement, but it cannot fix a badly curled rug. Flatten curled corners before use.
Vinyl floors
Vinyl needs extra care. Some rubber and latex backings can leave yellow, brown, or dark marks on vinyl. The exact reaction depends on the backing, floor finish, heat, light, and moisture.
For vinyl, choose a product clearly marked safe for vinyl flooring. Avoid permanent glue, carpet tape, and unapproved rubber mats.
Natural stone floors
Stone may absorb oils, dyes, or residue from rug backings. Marble, limestone, and other porous stone floors are especially sensitive.
Choose a pad made for natural stone. Make sure the stone is sealed as directed by the stone or flooring manufacturer. Lift the rug often to inspect for dampness or staining.
Wood and laminate floors
Wood and laminate floors can swell or stain when water remains under a rug. A non-slip backing does not replace good drying habits.
Use a thin pad that allows air movement. Keep the rug away from standing water, and dry the floor if water collects beneath it.

How to Put a Non-Slip Backing on a Bathroom Rug
Adding a backing works best when the rug is flat, clean, and dry. A pad can reduce sliding, but it cannot make an unsafe rug fully safe if the rug curls or moves at the edges.
What you need
Prepare:
- The bathroom rug
- A compatible non-slip rug pad
- Scissors
- A vacuum or soft brush
- Mild soap and water
- A clean, dry work area
Step 1: Measure the rug
Measure the rug’s length and width. The pad should be about 1 to 2 inches smaller on every side than the rug.
For example, a 24-by-36-inch rug usually needs a pad close to 22-by-34 inches. The exact size depends on the pad and rug design.
Step 2: Clean the rug and floor
Remove dust, hair, and loose grit from the floor. Clean the back of the rug according to its care label.
Let both surfaces dry fully. Dirt reduces grip, while moisture can make the rug slide or encourage mildew.
Step 3: Trim the pad
Cut the pad so it stays inside the rug’s edges. Round the corners if the rug has rounded corners.
Do not fold the pad under the rug. A fold creates a lump and may become a trip point.
Step 4: Place the pad correctly
Lay the pad flat on the floor. Put the rug over it and smooth the rug from the center toward the edges.
The pad should not extend past the rug. Check that the rug lies flat and that no corner lifts when you walk past it.
Step 5: Test the rug
Use your foot to apply light pressure and move the rug from several directions. Walk over it with normal steps.
A successful setup keeps the rug stable, leaves no exposed pad, and does not create a raised edge. Reposition the rug if it shifts, wrinkles, or curls.
Step 6: Inspect it after use
Check under the rug after the first few showers or baths. Look for:
- Water trapped under the pad
- Discoloration
- Sticky residue
- Pad movement
- Musty odor
- Curling or lifting
If you find any of these problems, remove the rug and let all parts dry. Replace the backing if it is not compatible with the floor.
DIY Ways to Make a Bathroom Rug Less Slippery
A DIY method may help when a rug is light and inexpensive, but it is less predictable than a purpose-made rug pad.
Silicone dots
Small silicone dots on the back can add grip. Use this only after confirming that the silicone will not damage the rug or floor.
Space the dots evenly. Large blobs can make the rug uneven, while too few dots may not stop movement.
Sew-on grip strips
Some fabric or craft stores sell non-slip fabric that can be sewn to the back of a rug. This can be a better option than glue for a washable textile rug because it avoids adhesive residue.
The strips must lie flat. Loose stitching can create a snag or raised edge.
Rug-grip tape
Some products use adhesive on one or both sides. They may help on dry floors, but bathroom moisture can weaken the bond and leave residue.
Use only tape that specifically states it is safe for the rug and floor. Do not apply it over damp flooring.
What not to use
Do not put these materials under a bathroom rug:
- Plastic grocery bags
- Cardboard
- Towels folded under the rug
- Smooth plastic sheets
- Loose newspaper
- Wax paper
- Unapproved carpet tape
- Permanent construction adhesive
- Thick foam that compresses unevenly
These materials can slide, bunch, hold moisture, or create a hidden trip hazard. A quick fix is not useful if it makes the rug less stable.

How to Keep the Backing Clean and Safe
A non-slip backing needs care because bathroom floors are exposed to water, soap, hair, and cleaning products.
Dry the rug regularly
Hang the rug or place it where air can reach both sides. Do not leave a wet rug flat on the floor for long periods.
Follow the washing instructions on the rug and pad. Some pads can be washed by hand but should not go in a dryer.
Lift the rug during cleaning
Move the rug and pad when you clean the floor. Wipe or vacuum under them, then let the floor dry before replacing them.
This also gives you a chance to find stains, cracking, curling, or moisture damage early.
Replace damaged backing
Replace the pad or rug when:
- The backing flakes or cracks
- The rug slides despite cleaning
- Corners no longer lie flat
- The pad smells musty after drying
- The backing leaves marks
- The rug has become stiff or curled
A worn backing can fail without warning. It is usually safer to replace it than to keep adding layers of tape or adhesive.
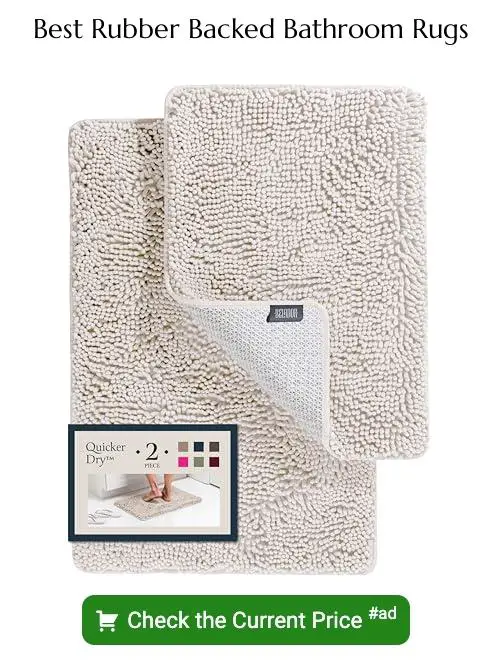
Common Mistakes to Avoid
The most common mistake is choosing a backing based only on how much grip it has. A strong grip is not helpful if the material stains the floor, traps water, or creates a raised edge.
Using a pad that is too large
An oversized pad may show around the rug. It can also catch feet and collect water.
Trim the pad so it remains hidden under the rug.
Covering the whole back with plastic
A solid plastic sheet may seem waterproof, but it can trap water beneath the rug. That moisture may cause odor, mildew, floor damage, or backing failure.
A breathable pad is often a better choice.
Ignoring the floor material
A backing labeled “non-slip” is not automatically safe for vinyl, natural stone, wood, or laminate.
Look for a compatibility statement. When none exists, test a small hidden area and inspect it often.
Leaving the rug over a floor vent
A rug placed over a floor vent may block airflow. It can also move when air pressure changes.
Keep the rug clear of vents, heaters, and other equipment unless the manufacturer permits covering them.
Assuming a non-slip rug is senior-safe
A non-slip backing can reduce movement, but it does not remove every fall risk. A rug may still curl, slide on water, or move when stepped on from the side.
For homes with older adults or people with balance problems, use a flat rug, keep the floor dry, and consider additional bathroom safety measures such as properly installed grab bars.
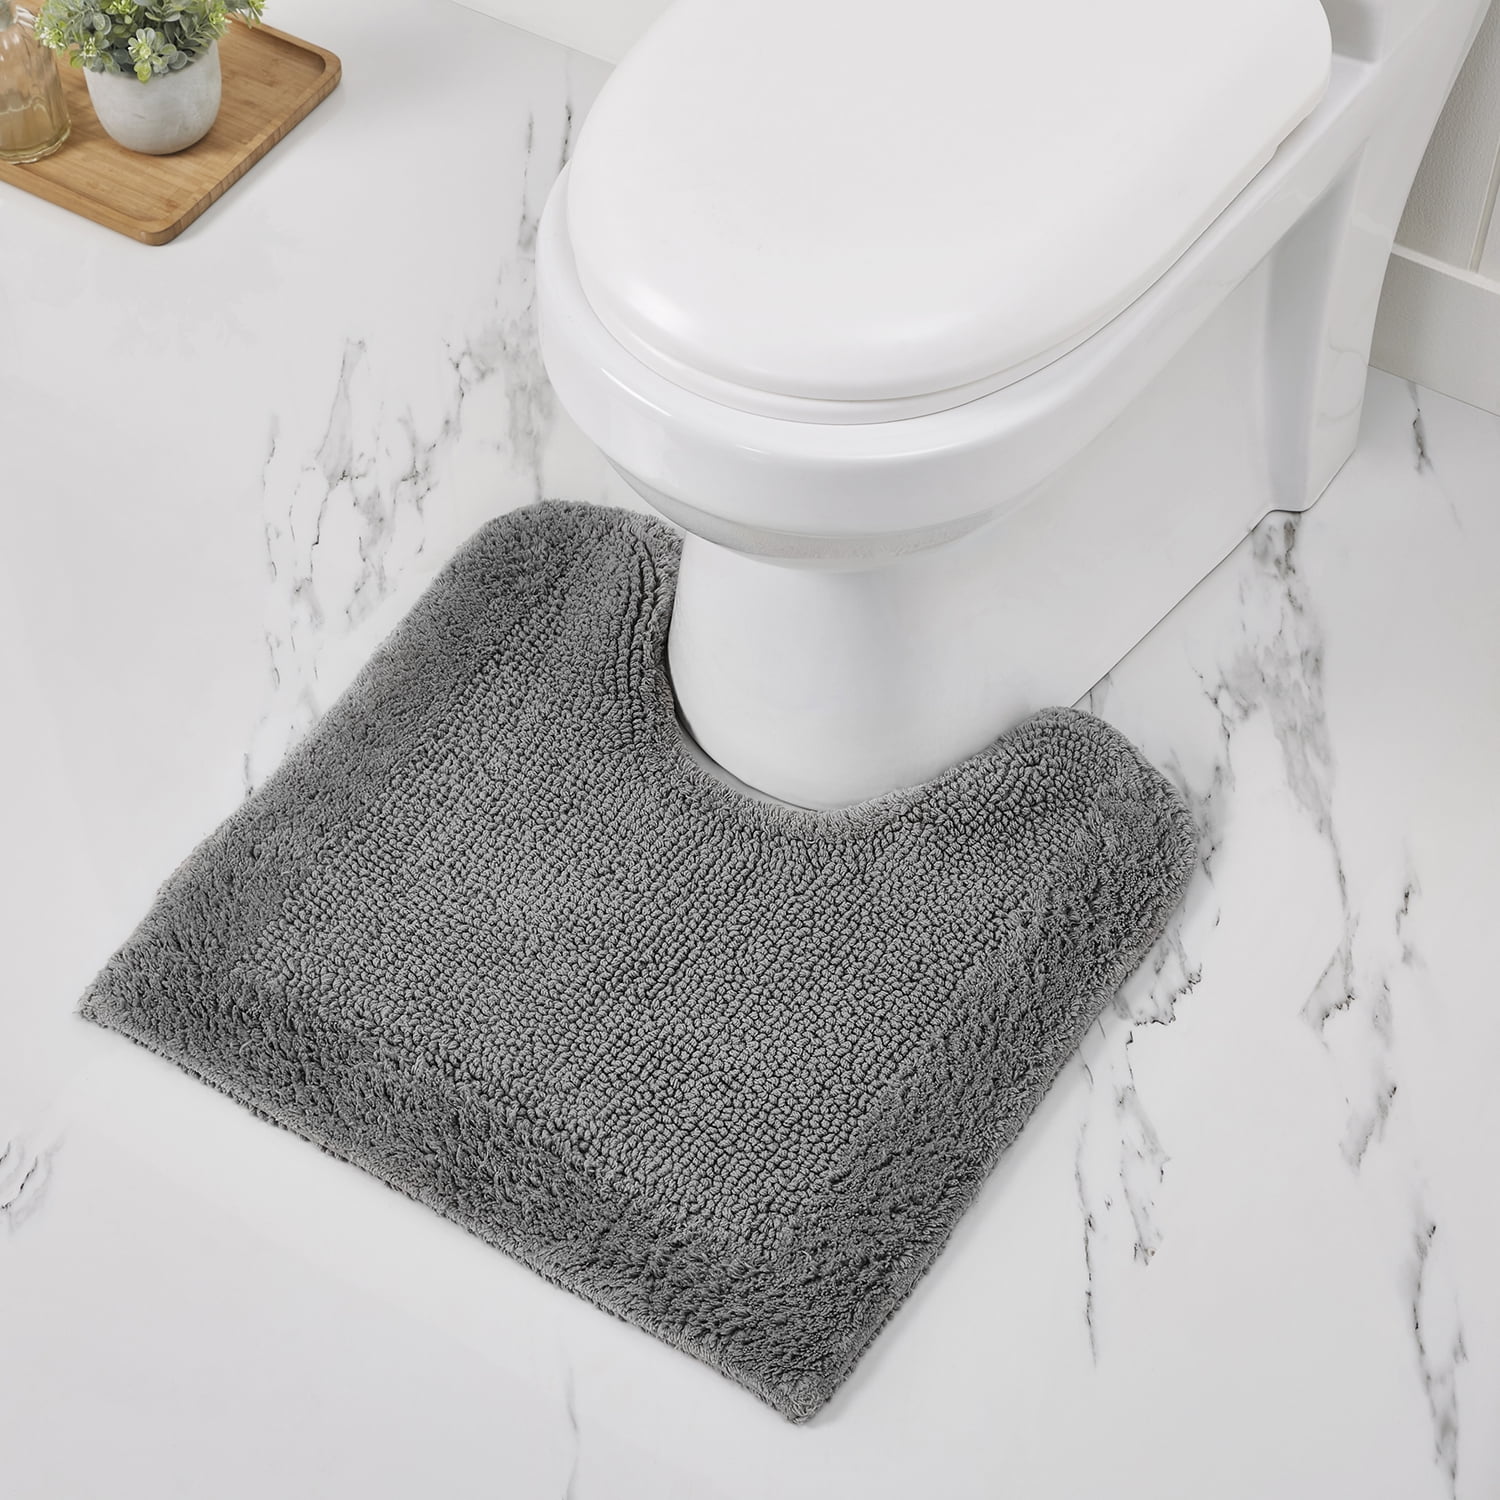
Quick Decision Guide
Use this simple guide to choose a backing:
- For ceramic or porcelain tile: Start with a thin, breathable non-slip pad.
- For vinyl flooring: Choose a pad specifically labeled safe for vinyl.
- For natural stone: Use a stone-safe pad and inspect for stains.
- For wood or laminate: Choose a thin, breathable pad and prevent water buildup.
- For a lightweight washable rug: Use a removable pad rather than permanent glue.
- For a rug that already has rubber backing: Check the floor warranty and care guide.
- For a curled or damaged rug: Replace the rug instead of adding more backing.
- For a high-risk bathroom area: Use a flat, low-profile rug and keep the floor dry.
The safest general choice is a thin, removable, floor-compatible rug pad. It offers grip without permanently changing the rug or floor.
Frequently Asked Questions
Can I use shelf liner under a bathroom rug?
Shelf liner is not the best choice. Smooth or loosely woven liner can slide, curl, or bunch under the rug. Some types may also trap moisture. Use a rug pad designed for the rug and floor instead.
Is rubber backing safe on vinyl bathroom floors?
Not always. Some rubber and latex backings can discolor vinyl or leave a residue. Use only a product labeled safe for your specific vinyl floor, and inspect the area after installation.
Can I use double-sided tape on a bathroom rug?
You can use it only when the tape is approved for both the rug and flooring. Moisture may weaken the adhesive, and removal can damage finishes or leave residue. A removable rug pad is usually easier to maintain.
Should a rug pad be the same size as the rug?
No. The pad should normally be slightly smaller so it stays hidden. A pad that reaches the edge can create a raised border and a trip hazard.
How often should I wash or replace a rug pad?
Follow the product instructions. In general, inspect the pad whenever you wash the rug and whenever moisture or odor develops. Replace it when it cracks, curls, breaks down, stains the floor, or no longer prevents movement.
What should I do if the rug still slides?
Remove the rug and check for water, dust, curled edges, and an incompatible pad. Clean and dry the floor, flatten or replace the rug, and try a pad made for that flooring. If the setup still moves, stop using the rug in that location.
Conclusion
Put a thin, removable, non-slip rug pad made for bathrooms and your flooring type under most bathroom rugs. Keep the pad smaller than the rug, let both surfaces dry, and check for staining or trapped water.
For vinyl, natural stone, wood, and laminate, compatibility matters more than maximum grip. Avoid improvised materials and permanent adhesives unless the manufacturer confirms they are safe. A flat rug, a suitable pad, and regular drying provide a simple and safer setup for most US bathrooms.