How To Make Bathroom Rugs: Easy DIY Guide
You can make a bathroom rug with old towels, cotton fabric, T-shirts, yarn, or rope. The best method depends on the tools you have and the type of rug you want. For a quick, absorbent rug, sew or braid old towels. For a decorative rug, crochet fabric strips or weave cotton cord.
In U.S. homes, a bathroom rug must do more than look good. It should absorb water, dry between uses, stay flat, and avoid creating a slip hazard on tile or vinyl floors. This guide covers simple methods, size planning, materials, washing, and ways to add safe grip.
Key Takeaways
- Use cotton towels for a soft, absorbent bath rug.
- Choose tightly woven fabric for a firm, flat rug.
- Measure the space before cutting materials.
- Keep the rug away from toilet bases, heaters, and door swings.
- Add a removable non-slip pad instead of painting thick rubber directly onto the rug.
- Dry the rug fully after washing to reduce odor and mildew risk.
- Never place a loose rug on a wet floor without checking that it stays flat.
What You Need to Make a Bathroom Rug
The materials depend on the method, but most homemade bathroom rugs need a washable, absorbent material and a way to hold the pieces together.
Basic supplies
You may need:
- Old cotton bath towels
- Cotton fabric or canvas
- T-shirts or jersey knit fabric
- Cotton yarn or clothesline rope
- Sharp fabric scissors
- Measuring tape
- Sewing machine or hand-sewing needle
- Strong polyester thread
- Straight pins or fabric clips
- Large crochet hook, if crocheting
- Cutting mat and rotary cutter, if available
- Washable fabric marker
- Removable non-slip rug pad
Choose clean materials with no oil, strong chemical smell, or loose decoration. Avoid fabrics that shed heavily or become slick when wet.
Choosing the right material
Cotton works well because it absorbs water and can usually be washed. Terry cloth, such as towel fabric, has more surface area than smooth fabric and can absorb water well.
A flat woven cotton rug is easier to clean and dries faster. A thick shag rug feels soft, but the long fibers can hold moisture and take longer to dry. This makes a thick rug less suitable for a poorly ventilated bathroom.
Avoid using materials with:
- Loose beads or buttons
- Long cords that could catch under a door
- Delicate trim that cannot be washed
- Foam that breaks down in water
- Plastic film that makes the surface slippery
- Unfinished rope that sheds or becomes rough
For most homes, old towels offer the best balance of cost, softness, and water absorption.
How to Plan the Size and Shape
Measure the space before you cut or sew. A bathroom rug should fit the area without touching walls, blocking a door, or bunching around the toilet.
Common starting sizes include:
| Location | Suggested finished size |
|---|---|
| In front of a small vanity | 18 by 30 inches |
| Beside a toilet | 20 by 30 inches |
| In front of a bathtub | 20 by 40 inches |
| In front of a wide double vanity | 24 by 60 inches |
| Around a pedestal sink | 24 to 30 inches round |
These are planning examples, not fixed rules. Use the space in your own bathroom as the final guide.
Leave enough clearance for doors and drawers. Place a paper template on the floor, then open the door and pull out nearby drawers. If the paper moves or folds, the finished rug may do the same.
Calculate the finished size
Fabric edges often become smaller after folding or sewing. If you want a finished rug that is 20 by 30 inches and plan to fold each edge by 1 inch, cut the main fabric about:
- 22 inches wide
- 32 inches long
For a rug made from strips, add extra material for seams, braids, and edge finishing. The amount varies by fabric weight and strip width, so make a small test section first.
A flat rug usually needs more surface area than expected because seams and folds use some of the material. Do not cut every towel at once. Test one strip or one corner before preparing the full batch.
Method 1: Sew a Bathroom Rug From Old Towels
Sewing towels is one of the easiest ways to make a practical bath mat. It produces a soft rug with good absorbency and does not require advanced sewing skills.
Materials
Use:
- Two to four old cotton bath towels
- Matching or heavy-duty polyester thread
- Fabric scissors
- Sewing machine
- Pins or clips
- Optional cotton binding
Use towels with similar thickness. Mixing a very thick towel with a thin one can make the rug twist or develop uneven edges.
Steps
-
Wash and dry the towels.
Clean towels are easier to cut and sew. Washing also removes loose lint and reveals the true size. -
Measure the target area.
Mark a rectangle or square on the towels. Keep the shape simple for your first project. -
Cut away worn edges.
Remove frayed hems and decorative borders if they make the layers uneven. -
Layer the towels.
Place the soft sides in the direction you want. Align the edges and pin or clip the layers. -
Sew around the outside.
Use a wide zigzag stitch or a strong straight stitch. Sew about ½ inch from the edge. -
Add support lines.
Sew several lines across the rug, about 4 to 6 inches apart. These lines keep the layers from shifting during washing. -
Finish the edges.
Bind the edge with cotton tape, fold it under, or use a wide zigzag stitch to control fraying. -
Trim loose threads.
Remove every long thread before placing the rug on the floor.
Signs of success
A sewn towel rug should lie flat when placed on the floor. The layers should not slide when you press the center with your foot. The edges should remain closed after a gentle pull.
If the rug puckers, reduce the sewing speed and use more clips. If the rug curls, the layers may have different thicknesses or the edge tension may be too tight.
A towel rug can be very absorbent, but it may stay wet longer than a thin woven rug. Hang it over a shower bar or drying rack between uses when possible.

Method 2: Make a Braided Bathroom Rug From Towel Strips
A braided rug uses long strips of fabric. It can be made by hand and is a useful way to reuse towels, T-shirts, sheets, or cotton fabric.
Materials
You need:
- Old towels or cotton fabric
- Scissors or rotary cutter
- Needle and strong thread
- Safety pins or clips
- A flat work surface
Use strips that are about 2 to 3 inches wide. Wider strips make a thicker rug. Narrow strips create a flatter, more flexible rug.
Steps
-
Cut long strips.
Cut the fabric in the same direction when possible. Keep the strip width consistent. -
Join short strips.
Overlap two strips by about 2 inches and sew them together. A diagonal seam creates less bulk than a straight seam. -
Start a three-strand braid.
Secure the ends to a fixed point or clamp them to a table. Braid with even tension. -
Keep the braid flat.
Do not twist the strips as you work. A flat braid produces a flat rug. -
Sew the braid together.
Coil the braid in a spiral for a round or oval rug. For a rectangle, lay rows side by side. -
Use short stitches through the braid.
Sew from one row to the next on the underside. Add stitches every few inches. -
Finish the tail.
Tuck the end under the rug and sew it down. Check that no loose tail can catch on toes.
Round versus rectangular rugs
A round braided rug works well in front of a pedestal sink. A rectangular rug suits a bathtub or vanity.
For a round rug, keep the coil snug but not tight. If you pull too hard, the rug may cup like a bowl. If the coil is too loose, gaps may appear between rows.
For a rectangular rug, build the shape in straight rows. Check the edges after every few rows. Small changes in tension can make one side longer than the other.
Fixing common braid problems
- The rug curls upward: loosen the braid and sew the next row with less tension.
- The rug has gaps: push the rows together before sewing.
- The edge looks uneven: trim only after the rug is complete.
- The rug feels too thick: use thinner strips or one layer of fabric.
- The rug twists: check that each strand lies flat before adding the next section.
Braided rugs look simple, but even tension matters. Work slowly near curves, where the outer edge must travel farther than the inner edge.

Method 3: Crochet a Bathroom Rug From Fabric Strips
Crocheting fabric strips creates a thick, flexible rug with a handmade look. This method works best if you already know basic crochet stitches.
Materials
Use:
- Jersey fabric, old T-shirts, or cotton sheets
- Fabric scissors
- Large crochet hook
- Needle for weaving in ends
T-shirt fabric is useful because it curls inward when cut into strips. This gives the rug a smooth cord-like texture.
Prepare T-shirt yarn
- Cut off the seams, collar, and sleeves.
- Cut the body into a continuous spiral strip.
- Make the strip about 1 to 2 inches wide.
- Pull the strip gently so the edges curl.
- Join strips with a small sewn seam or a secure knot.
Do not make the strips too thick. A very thick strip can create a heavy rug that holds water and takes a long time to dry.
Crochet steps
- Make a chain that matches the desired rug width.
- Work single crochet stitches across the chain.
- Turn the work and crochet back across the row.
- Keep the stitch tension loose and even.
- Continue until the rug reaches the planned length.
- Add a simple border if you want a cleaner edge.
- Weave in all ends on the underside.
A single crochet stitch makes a dense rug. Half-double crochet creates a faster, slightly more flexible fabric. Use the same stitch throughout the main body to keep the rug even.
Keep a crocheted rug flat
Lay the rug on the floor after every few rows. If the edges curl, the stitches may be too tight. If the rug becomes wavy, you may have added too many stitches.
Do not rely on blocking to correct major waves. Blocking may improve small differences, but it will not fully fix an uneven stitch count.
A crocheted rug may be comfortable underfoot, but the spaces between stitches can collect hair and dust. Shake it outside or use a vacuum attachment before washing.

Method 4: Weave a Simple Bathroom Rug
A woven rug can be made with a small frame loom or a sturdy homemade frame. This method creates a firm, flat rug with a clean pattern.
Materials
You need:
- Cotton cord, fabric strips, or sturdy yarn
- A frame or small loom
- Scissors
- Large needle or weaving tool
- Measuring tape
The lengthwise threads are called the warp. The threads that pass across them are called the weft. Keeping these threads even helps the rug hold its shape.
Steps
-
Set the rug width.
Place the warp threads across the frame with even spacing. -
Leave a small margin.
Do not weave directly against the frame edge. A margin makes finishing easier. -
Pass the weft over and under the warp.
Reverse the pattern on each row. -
Pack each row gently.
Use a comb or your fingers to bring rows together. Do not pull so hard that the rug narrows. -
Check the sides.
Keep the outer edges straight. A loose side can create a scalloped edge. -
Finish the ends.
Tie, braid, or sew the loose threads. Trim only after the rug is secure. -
Remove the rug from the frame.
Lay it flat and check for raised loops or loose ends.
A woven rug often dries faster than a deep-pile rug because it has less material per square inch. It may also feel firmer underfoot.

How to Add Non-Slip Protection Safely
A homemade rug can slide on smooth tile, vinyl, or polished stone. A rug that moves underfoot can increase the chance of a fall, especially near a tub or shower.
The simplest option is a separate, removable non-slip rug pad. Choose one that matches the rug size and the floor type. Follow the pad maker’s instructions because some pads can discolor vinyl, damage finishes, or leave residue.
Better options
- Use a thin non-slip pad under the rug.
- Choose a rug with a flat underside.
- Round sharp corners.
- Keep the rug away from standing water.
- Wash and dry the rug and pad separately when the care instructions allow it.
- Check the pad often for hardening, cracking, or transfer marks.
Avoid applying thick layers of paint, glue, or rubber coating unless the product is specifically made for washable floor rugs. Some coatings can become brittle, trap moisture, release odor, or damage flooring.
A non-slip pad does not make a wet floor safe by itself. Wipe up spills and keep the bathroom floor as dry as practical.

How to Wash and Dry a Homemade Bathroom Rug
Check the material and stitching before washing. A rug made from old towels may tolerate warm water, while a delicate fabric rug may need a cooler cycle.
General care steps
- Shake out hair, lint, and loose dirt.
- Repair open seams before washing.
- Wash the rug according to the material’s care needs.
- Do not overload the washer.
- Use a full rinse if the rug feels soapy.
- Dry it fully before returning it to the floor.
- Clean the floor under the rug before replacing it.
Do not place a wet rug on a wood floor. Moisture trapped underneath can damage some flooring materials. If the bathroom has poor airflow, dry the rug outside the bathroom or use a drying rack.
Wash the non-slip pad only as directed. Some pads should be wiped clean rather than machine washed.
When to replace the rug
Replace or repair the rug when:
- The backing becomes brittle
- The rug stays damp for long periods
- The fabric develops a persistent musty smell
- Seams open and cannot be repaired
- The corners curl upward
- The rug slides even with a suitable pad
- Mold or heavy staining remains after proper cleaning
Never use bleach or harsh chemicals unless the fabric and care label allow it. Strong products can weaken fibers and change the rug’s color.

Common Mistakes When Making Bathroom Rugs
Making the rug too thick
A thick rug may feel soft, but it can hold moisture and prevent a bathroom door from opening. Test the rug under the door before finishing it.
Using uneven layers
Uneven fabric can make the rug rock or buckle. Use similar materials, or place the thickest layer in the center and stitch it securely.
Skipping edge finishing
Raw towel edges can shed and unravel. Use a zigzag stitch, binding, folded hem, or secure hand stitches.
Adding too much non-slip coating
A heavy coating can make the rug stiff and may harm the floor. A separate pad is easier to replace and inspect.
Ignoring the underside
Turn the rug over before using it. Remove loose threads, exposed knots, and rough seams that may scratch flooring.
Washing too late
Bathroom rugs collect water, hair, skin oils, and dust. Wash them on a regular schedule based on use, ventilation, and how quickly they dry.
Placing rugs too close together
Several small rugs can create extra edges and trip points. One well-fitted rug may be safer than many pieces.
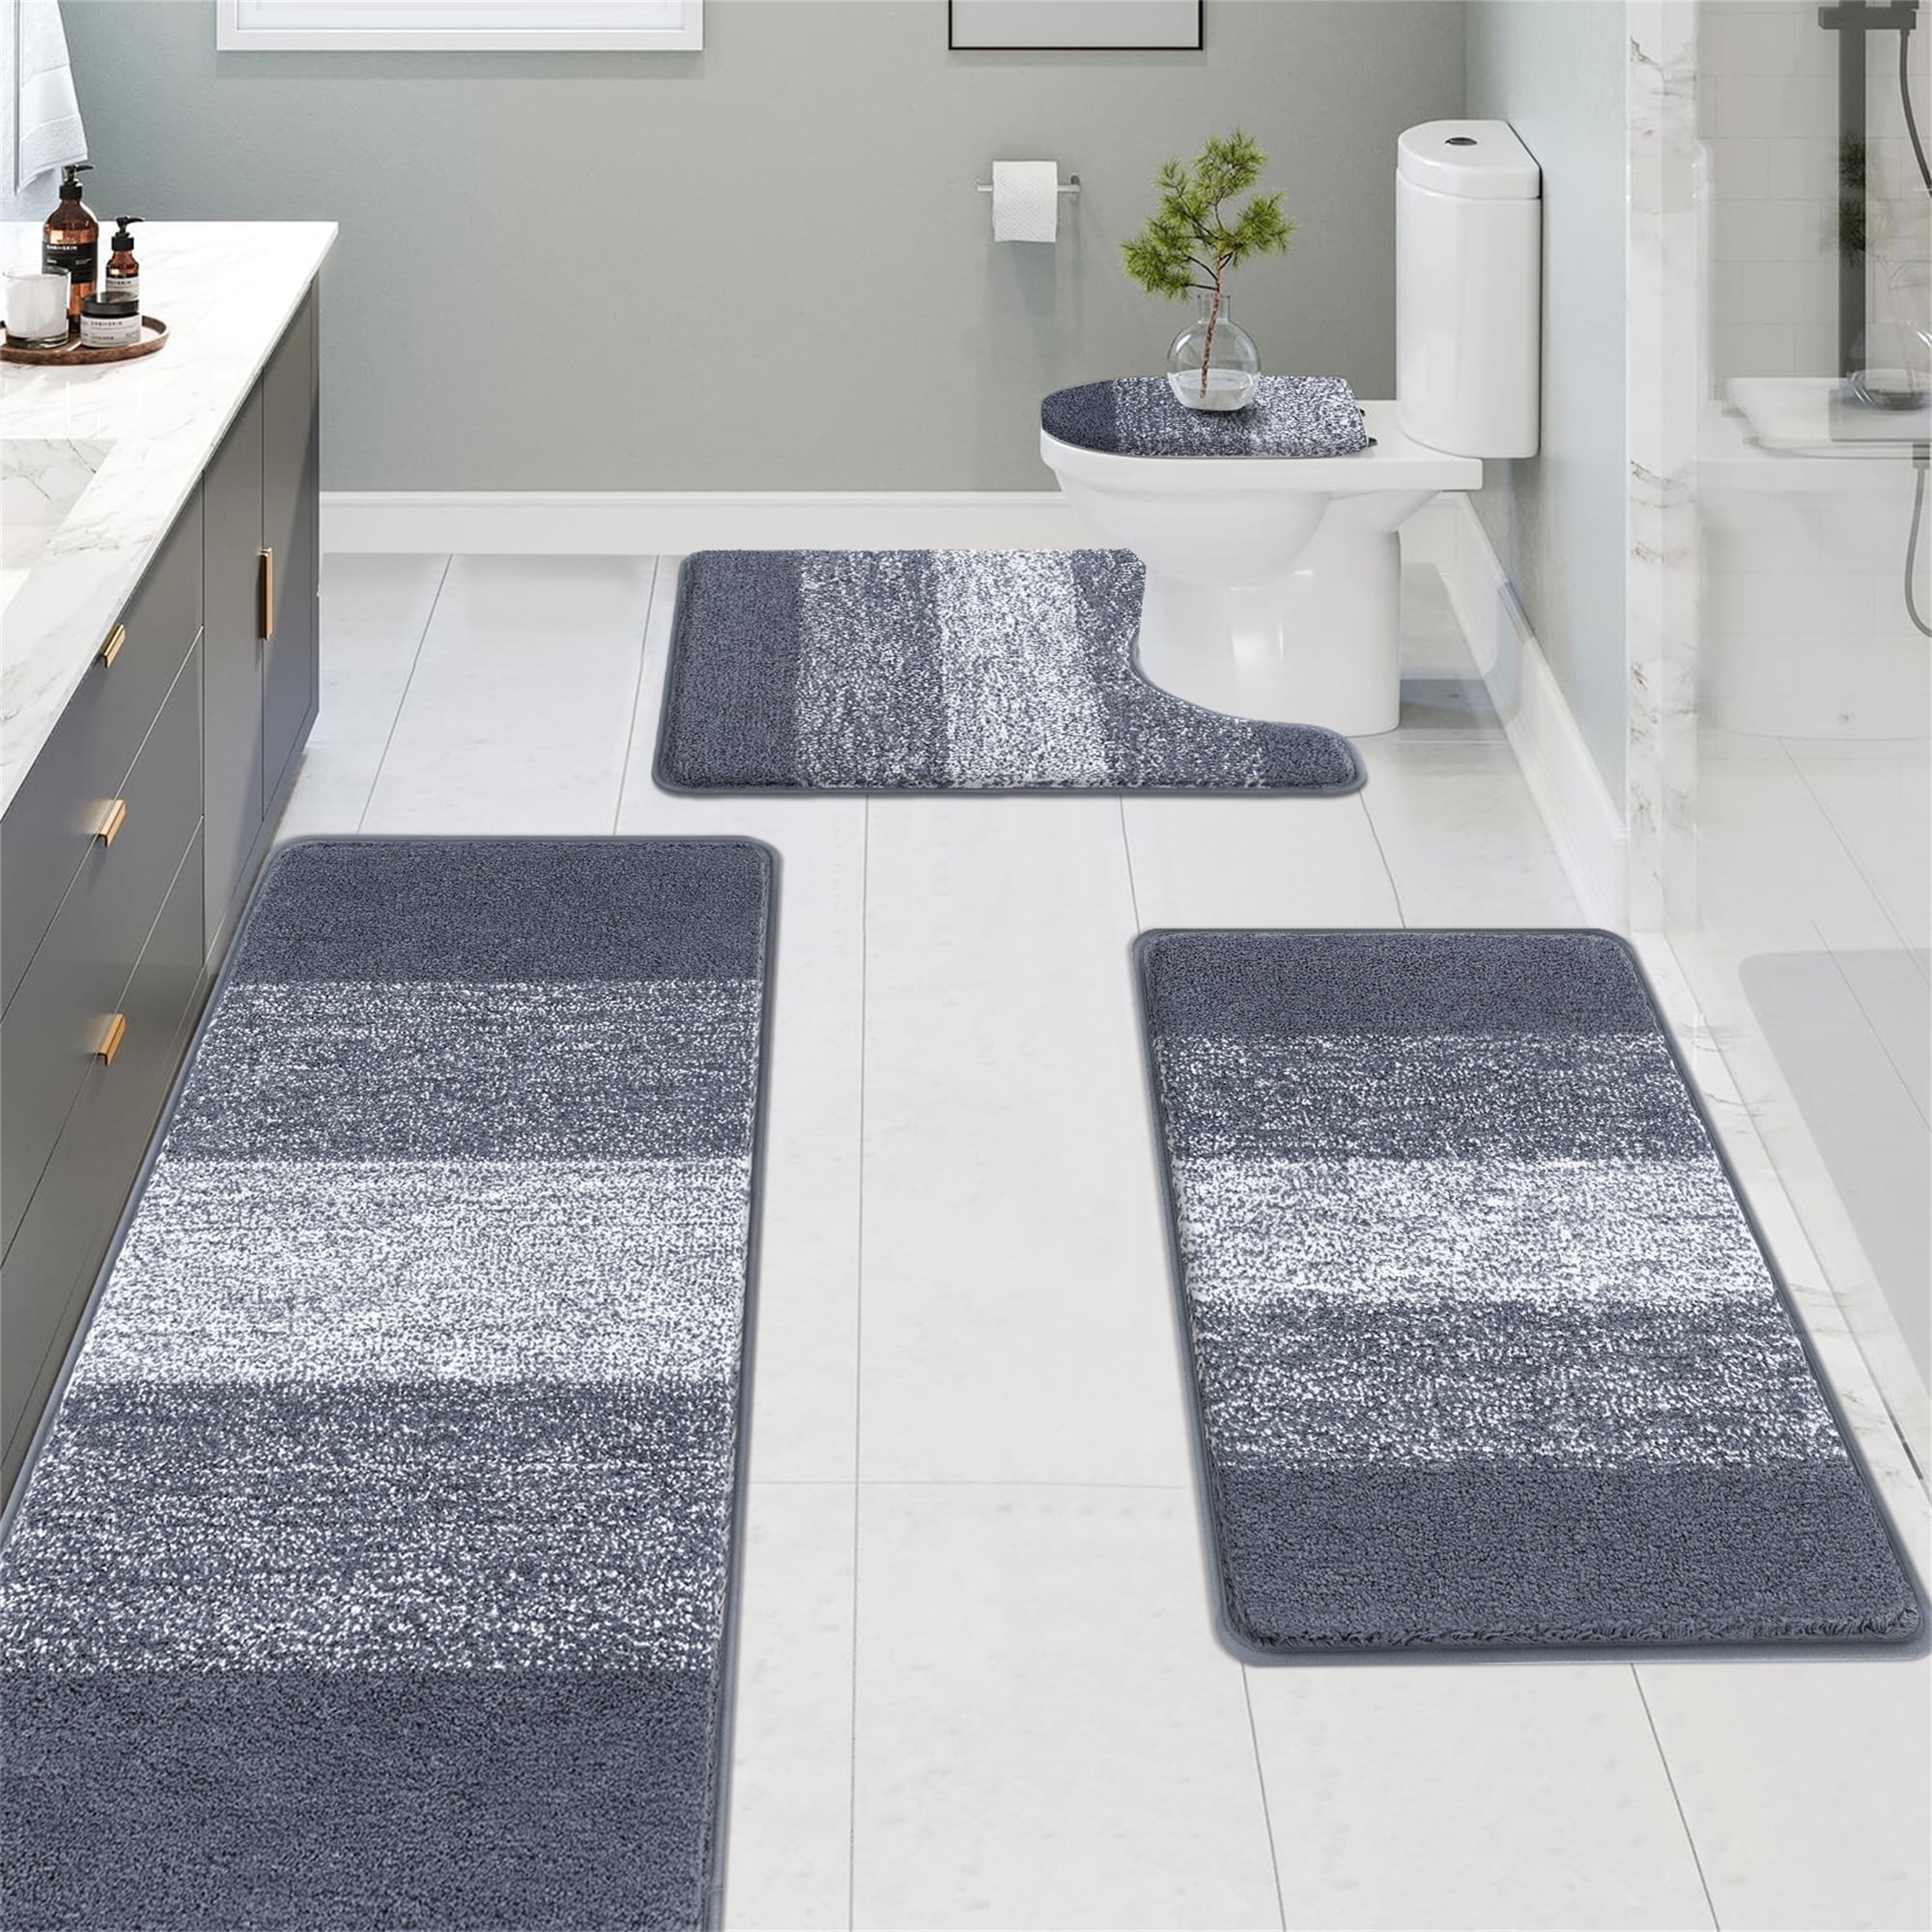
Which Homemade Bathroom Rug Method Is Best?
Use this comparison to choose a method based on your tools and priorities.
| Method | Best for | Main benefit | Main limitation |
|---|---|---|---|
| Sewn towel rug | Beginners and high absorbency | Fast and soft | Can dry slowly |
| Braided rug | Recycling towels or shirts | No machine is required for most steps | Needs even tension |
| Crocheted rug | Decorative handmade designs | Flexible shape and texture | Can hold dust and water |
| Woven rug | Flat, firm rugs | Clean structure and faster drying | Needs a frame or loom |
Choose a sewn towel rug if you need a useful bath mat quickly. Choose a braided rug if you enjoy handwork and want to reuse fabric. Choose crochet for texture and style. Choose weaving when a flat, firm surface matters most.
No homemade method is automatically safer than a store-bought rug. Safety depends on the finished rug’s grip, flatness, condition, and care.

Frequently Asked Questions
Can I make a bathroom rug without sewing?
Yes. Braid fabric strips by hand, crochet fabric yarn, or weave strips on a simple frame. Even without sewing, secure every loose end so it cannot catch on feet or become tangled in a washer.
Are old towels good for bathroom rugs?
Yes. Cotton towels are absorbent and easy to wash. Use towels with similar thickness, and stitch or braid them firmly so the layers do not shift.
How do I make a bathroom rug that does not slide?
Use a properly sized removable non-slip rug pad, keep the rug flat, and place it on a clean, dry floor. Inspect the pad and rug often. Replace either one if it hardens, curls, or loses grip.
How often should I wash a homemade bathroom rug?
Wash it whenever it becomes damp, dirty, or musty. A rug used by several people may need more frequent washing than one used in a lightly used bathroom. Dry it fully after each wash.
Can I put a homemade bathroom rug in the dryer?
Only if the fabric, thread, seams, and backing can handle the dryer. Check care labels when available. Air-dry thick or layered rugs if heat may shrink, weaken, or damage them.
Final Recommendation
For most beginners, a sewn rug made from two old cotton towels is the best first project. It is simple, soft, absorbent, and easy to repair. Measure the bathroom first, keep the rug flat, finish every edge, and use a removable non-slip pad when needed.
Before using the rug, test it with a dry floor and a closed bathroom door. If it slides, curls, blocks the door, or stays wet for too long, change the design before regular use.