How to Connect Anker Bluetooth Keyboard? Know the Secret Handshake
Connecting your Anker Bluetooth keyboard is a simple process that takes only a few minutes. By following our step-by-step guide, you will have your keyboard paired with your phone, tablet, or computer in no time, ensuring you can get back to your work or play.
So, you just picked up a shiny new Anker Bluetooth keyboard. That is a fantastic choice! These keyboards are known for being super slim, reliable, and honestly, a total game-changer for anyone tired of typing on a touchscreen. Whether you are a student writing essays in the library or a professional catching up on emails at a local cafe, having a real tactile keyboard makes everything feel a bit more official and a whole lot faster.
However, we have all been there. You unbox the device, turn it on, and then stare at your tablet wondering why they are not talking to each other. Do not worry. Technology can be a little moody sometimes, but connecting your Anker device is actually very straightforward once you know the secret handshake. In this guide, we are going to walk through exactly how to connect Anker Bluetooth keyboard models, regardless of which device you are using.
Key Takeaways
- Check Compatibility: Ensure your device supports Bluetooth 3.0 or higher to guarantee a stable connection with your Anker hardware.
- Power Levels Matter: Always start with a fully charged keyboard to prevent connection drops during the initial pairing sequence.
- Enter Pairing Mode: Every Anker keyboard requires a specific key combination to trigger the discovery mode, usually marked by a blinking LED.
- Forget Old Connections: If the keyboard fails to pair, delete any existing saved profiles from your device settings to clear the cache.
- System Settings: Navigating the Bluetooth menu is universal, but toggling it off and on can often resolve invisible software glitches.
- Keyboard Shortcuts: Learn the function keys to switch between operating systems, as Anker keyboards are often cross-compatible with iOS, Android, and Windows.
Preparing Your Anker Keyboard for the First Time
Before you dive into the settings on your phone or computer, you need to make sure the hardware is ready to go. The most common reason for a failed connection is simply that the keyboard is not actually broadcasting its signal.
Power and Battery Checks
First things first, make sure the power is on. Most Anker keyboards have a dedicated toggle switch or a button. Flip it to the “On” position. If you see a light blink for a second and then go dark, that is perfectly normal – it is just the device doing a quick self-check. If there is no light at all, it might be time to plug it into a charging cable for a few minutes. Even if it came out of the box with some juice, a quick charge is the safest way to ensure a stable setup process.
Finding the Pairing Button
This is the part that trips most people up. Just turning the keyboard on does not automatically make it “visible” to your phone or laptop. You have to tell the keyboard, “Hey, look for a new friend!” Look for a button labeled ‘Connect’ or a specific key combination, often marked with the Bluetooth logo.
You usually need to hold this button down for three to five seconds. You will know it is working when the blue light starts flashing. That flashing light is your keyboard’s way of saying it is ready to pair.
Connecting to Apple Devices (iPad and iPhone)
Connecting to an iPad or iPhone is incredibly smooth. Apple devices love external keyboards, and they are usually very good at recognizing them instantly. Here is how you get it done in 2026.
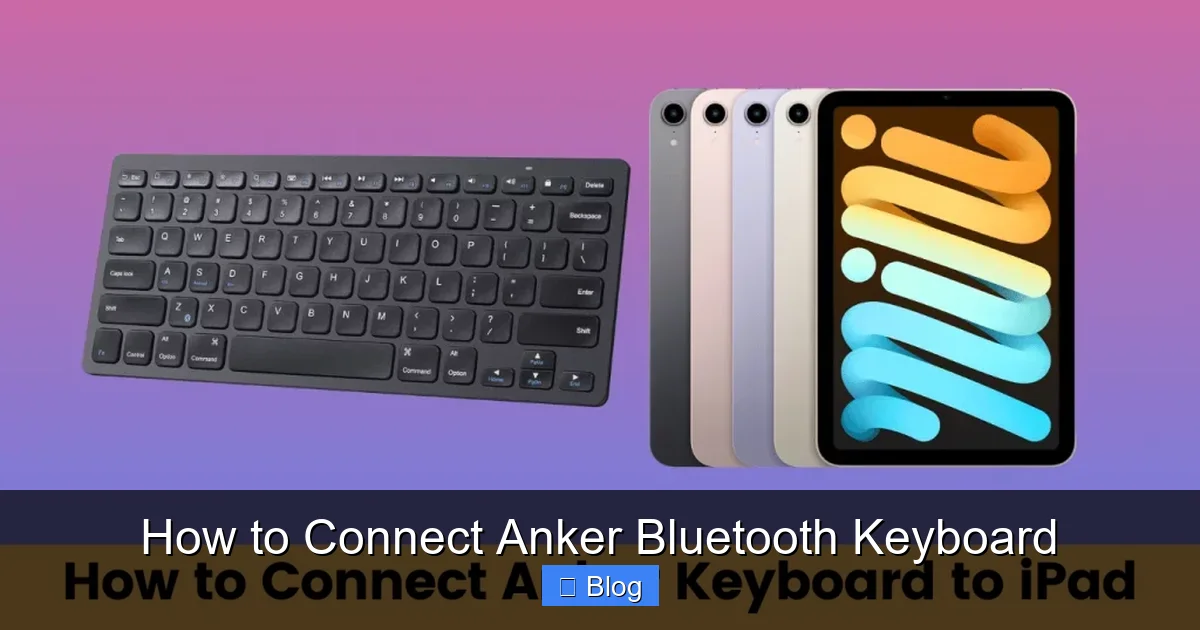
Visual guide about How to Connect Anker Bluetooth Keyboard
Image source: kmgadvice.com
Navigating the Bluetooth Menu
Unlock your iPad or iPhone and tap on the Settings app. From there, select Bluetooth. Make sure the toggle switch is turned to the green “On” position. Once that screen is open, your device will start searching for nearby signals. Your Anker keyboard should appear in the list under the “Other Devices” or “My Devices” section.
Completing the Pairing Sequence
When you see the name of your keyboard appear on the screen, tap on it. Sometimes, your iPad will ask you to type a numeric code on the keyboard and press Enter. This is a security feature to make sure you are connecting to the right device. Just follow the prompt, type the numbers exactly as they appear, and you are all set. Once it says “Connected,” you are ready to start typing.
Syncing with Android Phones and Tablets
Android is just as easy to work with. Since Android supports a wide range of input devices, your Anker keyboard will likely work seamlessly with your phone or tablet immediately after pairing.
Scanning for Signals
Go to your Settings menu and look for “Connected Devices” or “Bluetooth.” Toggle the switch on. Your phone will immediately scan the area. Keep your keyboard in pairing mode—remember, that blue light needs to be blinking. If it stops blinking, you might need to hold the connect button again to wake it back up.
Finalizing the Connection
Once your Anker keyboard pops up in the list, tap it. Unlike some other operating systems, Android might connect immediately without asking for a code, or it might prompt you for a pin. If it asks, just type the numbers and hit the Enter key. Your device should show the status as “Connected.” If you ever decide to switch to a different phone, just tap “Forget Device” in the settings before trying to connect to the new one.
Pairing with Windows PCs and Laptops
If you are using an Anker keyboard with a Windows desktop or laptop, you are going to love the productivity boost. Windows handles external hardware very well, especially with the latest updates from this year.
Using the Windows Settings Menu
Click on the Start button and open Settings, then head over to “Devices” or “Bluetooth & devices.” Click the button that says “Add device.” A new window will pop up asking what kind of device you want to add. Choose “Bluetooth.” Now, your PC will hunt for your keyboard.
Installing and Testing
Wait a few seconds for the keyboard to appear in the list. Click on it, and you are done. Your PC might take a moment to configure the drivers automatically, but you usually do not have to do anything else. Try opening a word document and typing a few sentences to make sure every key is registering as expected.
Troubleshooting Common Connection Issues
Even with the best tech, sometimes things go wrong. If you are struggling to connect your Anker Bluetooth keyboard, do not get frustrated! Here are a few quick tips to help you get back on track.
Clearing Old Profiles
If you have used the keyboard with a previous laptop, it might be trying to automatically reconnect to that old device instead of your new one. Go to the Bluetooth settings of the old device and tell it to “Forget” or “Remove” the keyboard. Then, restart your keyboard’s pairing mode and try again on the new device.
Distance and Interference
Bluetooth is great, but it has limits. Make sure your keyboard is within a few feet of your device during the initial pairing. Also, try to keep the area clear of other strong wireless signals, like large microwaves or older cordless phones, which can sometimes interfere with the connection signal during the initial handshake.
Optimizing Your Typing Experience
Now that you are connected, you want to make the most of your hardware. Anker keyboards are designed with efficiency in mind, so take a moment to look at the function row at the top.
Using Dedicated Function Keys
Did you know you can control your volume, play/pause music, and even lock your screen directly from your keyboard? Most Anker models have these shortcuts printed right on the keys. Spend a few minutes testing them out in your favorite apps. It saves so much time compared to reaching for your touchscreen.
Maintenance Tips for Long Life
Keep your keyboard clean! A simple microfiber cloth works wonders for removing dust from between the keys. Since these keyboards are portable, it is a good idea to put them in a dedicated pouch if you are tossing them into a backpack. This prevents keys from getting pressed accidentally, which drains the battery, and keeps the device looking brand new for years.
Getting your Anker keyboard set up is a simple task that pays off with every sentence you write. By following these steps, you have successfully bridged the gap between your hardware and your software. Enjoy the freedom of a clean, comfortable, and efficient typing setup. You are now ready to take your productivity to the next level!
Frequently Asked Questions
Why won’t my Anker keyboard enter pairing mode?
Make sure the keyboard is fully charged, as low battery levels can prevent it from broadcasting a signal. Try holding the “Connect” or Bluetooth button for at least five seconds until the light begins flashing steadily.
Do I need to install special software to use this keyboard?
No, Anker Bluetooth keyboards are designed to be “plug and play” devices. They use standard Bluetooth protocols, so your computer or phone will recognize them automatically without needing extra drivers.
Can I connect my keyboard to multiple devices at once?
Most standard Anker keyboards are designed for one active connection at a time. To switch devices, you will need to disconnect the keyboard from the first device before pairing it with the second one.
How do I know if my keyboard is running out of battery?
Most Anker models feature a small LED indicator that will blink red or change color when the battery is low. If the keyboard becomes unresponsive or has a laggy connection, it is likely time to plug it in.
Will my Anker keyboard work with a smart TV?
Yes, many Anker keyboards are compatible with smart TVs that support external Bluetooth input devices. Simply navigate to the TV’s remote control or accessory settings to pair it just like you would a phone.
What should I do if the keys are typing the wrong characters?
This usually happens if your operating system has the wrong keyboard layout selected. Go to your device’s language and input settings to ensure the layout matches your physical keyboard, usually set to “English (US)” or your region’s standard.