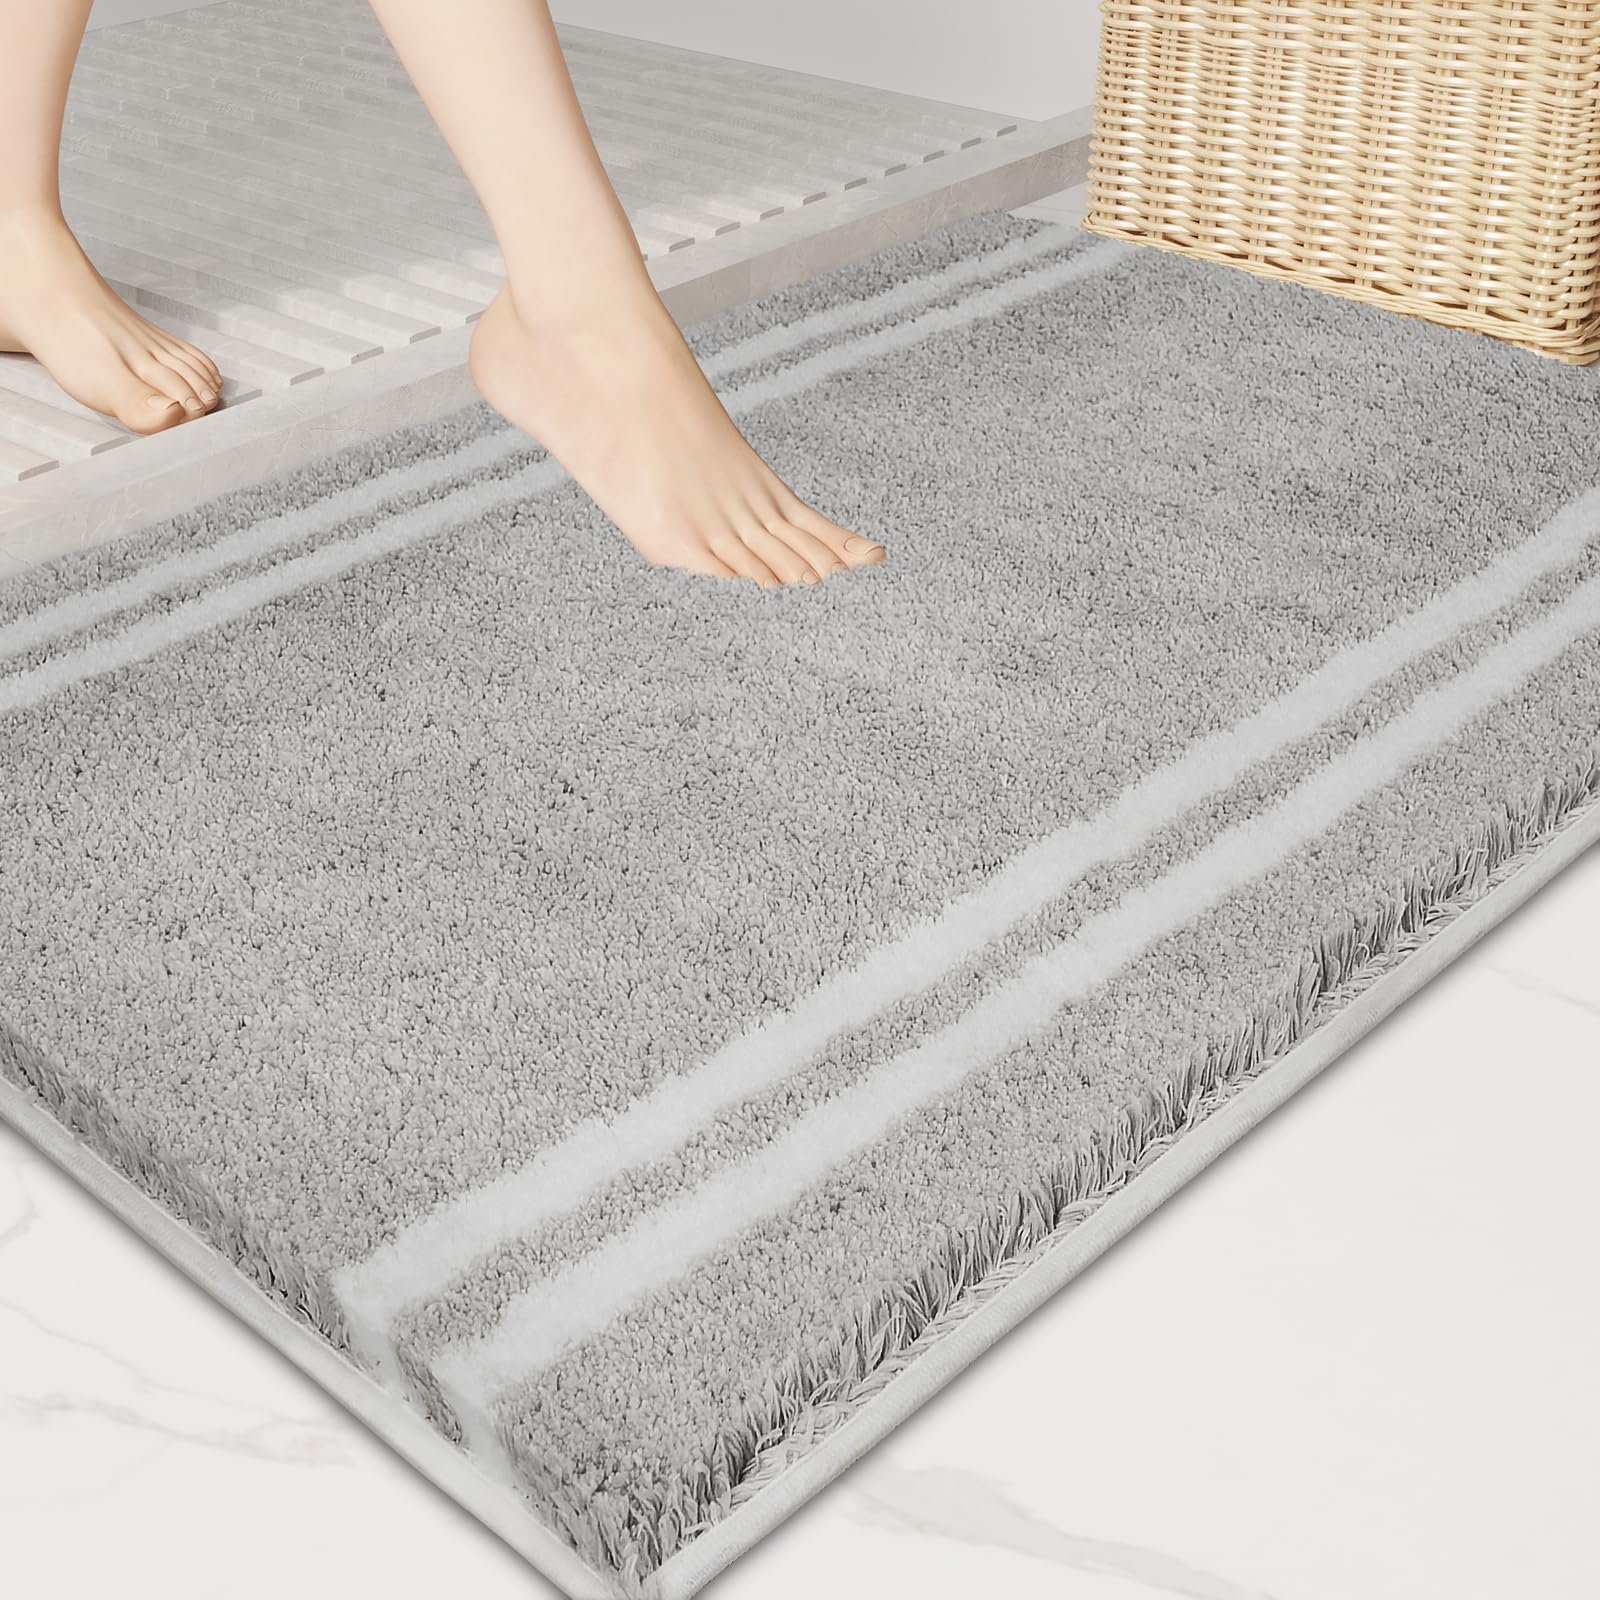
How To Make Bathroom Throw Rugs: Easy DIY Guide
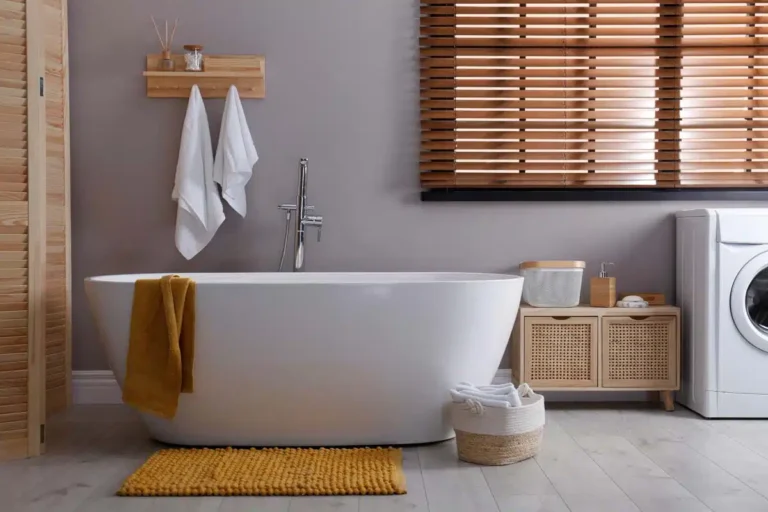
A bathroom throw rug is easy to make with fabric, an old towel, or a small piece of carpet. For a U.S. bathroom, choose a size that fits your floor, use washable materials, and add a secure nonslip layer. A handmade rug can warm up tile floors, but it should not slide, curl, or stay damp.
This guide explains how to make bathroom throw rugs with basic sewing tools. It also covers no-sew options, rug sizes, fabric choices, washing, and safety.

Choose the Best Bathroom Rug Design
The best design depends on the space, the amount of water on the floor, and how often you plan to wash the rug.
A decorative throw rug usually sits near a vanity, beside a bathtub, or in front of a toilet. It is not always designed to absorb large amounts of water. If you need a rug for stepping out of a shower, use absorbent cotton and a strong nonslip base.
Common DIY options
| Rug type | Best material | Skill level | Main benefit | Main concern |
|---|---|---|---|---|
| Towel rug | Old cotton towels | Easy | Soft and absorbent | May dry slowly |
| Sewn fabric rug | Cotton, canvas, or chenille | Easy to medium | Custom color and size | Needs a nonslip backing |
| Braided rug | Fabric strips or T-shirts | Medium | Uses scraps | Can curl if poorly joined |
| Crochet rug | Cotton yarn | Medium | Decorative and flexible | Can hold moisture |
| No-sew fleece rug | Fleece strips and backing | Easy | Quick to make | Less absorbent |
For most homes, a sewn cotton rug offers the best balance of comfort, washability, and control. A towel rug is a good choice when water absorption matters most.
Pick a practical size
Measure the open floor before cutting fabric. Leave enough space for doors, drawers, and cabinet doors to open without catching the rug.
Common U.S. bathroom rug sizes include:
- 20 by 30 inches: Small space beside a sink or toilet
- 24 by 36 inches: General-purpose floor rug
- 27 by 45 inches: Larger vanity or tub area
- 30 by 50 inches: Wide open floor, if the room allows it
Do not cover floor vents or place a thick rug where it can block a bathroom door.

Gather the Materials and Tools
You need clean, washable materials and a base that stays flat. Avoid fabrics that remain wet for long periods or shed loose fibers.
For a sewn bathroom throw rug
Gather:
- 1 to 2 yards of prewashed cotton, canvas, chenille, or microfiber fabric
- A nonslip rug pad or rubberized rug backing
- Cotton or polyester thread
- Fabric scissors
– Measuring tape - Straight pins or sewing clips
- A sewing machine
- An iron
- Optional: quilt batting for extra softness
Choose fabric with a tight weave. Cotton canvas is durable but may feel firm. Terry cloth feels soft and absorbs water well. Chenille feels plush, but it may require gentler washing.
For a towel rug
Gather:
- Two large cotton bath towels or several hand towels
- A nonslip rug pad
- A sewing machine or needle and thread
- Fabric scissors
- Clips
- Optional: cotton binding tape
Use towels that are clean and free from fabric softener buildup. Fabric softener can reduce absorbency over time.
For a no-sew rug
Gather:
- One piece of fleece or tightly woven fabric
- A nonslip rug pad
- Fabric scissors
- A ruler
- Optional: fabric glue labeled for washable textiles
Do not rely on glue alone if the rug will become wet often. Sewn edges usually last longer through repeated washing.

How to Make a Sewn Bathroom Throw Rug
A sewn rug is the most flexible option. You can set the exact size, add a soft center, and replace the nonslip base later.
Step 1: Measure and prewash the fabric
Measure the area where the rug will sit. Add about 1 inch to both the length and width for a ½-inch seam allowance on all sides.
For example, to make a finished rug that is 24 by 36 inches, cut the top fabric to about 25 by 37 inches. If you add batting, cut it to the same size as the fabric.
Wash and dry the fabric according to its care label before cutting. Prewashing helps reduce later shrinkage. It also shows whether the fabric bleeds color.
Step 2: Cut the rug layers
Cut these pieces:
- One top fabric piece
- One backing piece of similar size
- One batting piece, if desired
- One nonslip pad slightly smaller than the finished rug
The nonslip pad should not extend beyond the fabric edge. A hidden pad reduces the chance of curled corners and keeps the rubber away from direct foot traffic.
Step 3: Layer the materials
Place the backing fabric face down. Add the batting, if using it. Place the top fabric face up.
Clip the layers around the edges. Avoid stretching the fabric as you clip. Stretching can make the finished rug ripple.
For a thin bathroom rug, skip the batting. Thin layers dry faster and are less likely to trap moisture.
Step 4: Sew around the edge
Sew around the rug with a ½-inch seam allowance. Leave an opening of about 4 to 6 inches on one side.
Backstitch at the start and end. This locks the seam and helps prevent unraveling during washing.
Trim bulky corners. Do not cut through the stitches.
Step 5: Turn and press the rug
Turn the rug right side out through the opening. Use a blunt tool to push out the corners. Do not use a sharp object, which can puncture the fabric.
Press the rug flat with an iron set for the fabric type. Fold the raw edges of the opening inward.
Step 6: Close the opening
Topstitch around the full edge of the rug. Keep the seam about ⅛ to ¼ inch from the edge.
Topstitching closes the opening and helps the rug keep its shape. For a cleaner finish, sew a second line around the edge.
Step 7: Attach the nonslip layer
Place the finished rug on the nonslip pad. Mark the pad so it is about 1 to 2 inches smaller than the rug on every side.
Cut the pad and place it under the rug. If the pad shifts, use small fabric-safe attachment points or sew narrow fabric tabs to the rug. Do not sew through thick rubber unless the backing manufacturer says it is safe.

How to Make a Bathroom Rug From Old Towels
Old towels make a soft, absorbent bathroom throw rug. This method also gives worn towels a useful second life.
Step 1: Select and wash the towels
Choose towels with similar thickness. Wash them without fabric softener, then dry them fully.
Do not use towels with mold, a sour odor, or heavy damage. Washing may remove dirt, but it will not repair weakened fibers.
Step 2: Join the towels
Lay the towels flat and overlap their edges by about ½ inch. Clip the edges together.
Sew a straight seam through the overlap. Use a zigzag stitch along the raw edge if the towel sheds loops. Repeat until the joined towels reach the desired size.
For a cleaner design, place the towels with their finished edges outward. This reduces the amount of edge finishing required.
Step 3: Add a border
Towel edges can curl or shed. Add cotton binding tape around the outside edge, or fold the edge under and sew it down.
Use a wide zigzag stitch for thick terry cloth. A narrow straight stitch may pull out when the rug is washed.
Step 4: Add the nonslip pad
Cut a rug pad smaller than the towel rug. Place it underneath after the rug is fully dry.
Never use a towel rug without checking whether it slides on your floor. Wet cotton can become heavy and may move more easily on smooth tile or vinyl.

How to Make a No-Sew Bathroom Throw Rug
A no-sew rug works well for light decorative use. It is less suitable for a shower exit unless the fabric absorbs water and the edges stay secure.
Method 1: Fleece strip rug
- Cut a piece of fleece to the finished rug size.
- Cut strips around the edges, each about 1 inch wide and 3 to 4 inches long.
- Tie matching top and bottom strips into small knots.
- Place a nonslip pad underneath.
- Trim uneven fringe so the rug lies flat.
Do not make the fringe too long. Long fringe can catch under feet or collect moisture.
Method 2: Fabric-strip rug
- Cut cotton fabric into strips about 2 inches wide.
- Braid three strips at a time.
- Join braid sections with tight stitches.
- Coil the braid into an oval or rectangle.
- Stitch through the coils at regular points.
- Add a nonslip pad underneath.
Keep the coil flat as you work. If the braid twists, the rug may develop a raised edge.

Make the Rug Safe for a Bathroom Floor
A bathroom rug must stay flat and resist movement. A beautiful rug is not useful if it slides underfoot.
The U.S. Consumer Product Safety Commission publishes safety information and recall notices for household products. Check the rug, pad, and adhesive labels for care and use limits.
Use a separate nonslip pad
A rug pad is often better than painting rubber directly onto fabric. It can be removed for washing and replaced when it wears out.
Choose a pad made for your floor type. Some rubber or latex products can stain vinyl, damage finishes, or leave residue. Test a small hidden area first.
Keep edges flat
Curling usually means the fabric shrank unevenly, the backing is too small, or the rug was stored rolled. To correct it:
- Wash and dry the rug according to its care label.
- Press the rug flat.
- Place it under a heavy, clean object for several hours.
- Replace a warped backing.
- Trim or resew an edge that is too tight.
Do not use a rug with a lifted corner in a busy walkway.
Avoid unsafe placement
Keep the rug away from:
- Floor heaters and heat-producing appliances
- Open flames
- Floor vents
- Door swings
- Areas where water pools
- Cracked or loose flooring
A rug should not hide a plumbing leak or damaged floor. Repair the source of moisture first.

Choose Fabric That Dries Well
Fabric choice affects comfort, odor, drying time, and cleaning needs.
| Fabric | Absorbency | Drying speed | Durability | Best use |
|---|---|---|---|---|
| Cotton terry | High | Medium to slow | Medium | Shower or tub area |
| Cotton canvas | Low to medium | Fast | High | Vanity area |
| Chenille | Medium to high | Medium | Medium | Soft decorative rug |
| Microfiber | High | Fast | Medium | Frequent washing |
| Fleece | Low | Fast | Medium | Decorative, low-water areas |
Thick does not always mean better. A very thick rug can feel soft but take longer to dry. In a damp room, a thinner washable rug may be more practical.
For a rug beside a shower, choose absorbent fabric and wash it often. For a rug in front of a vanity, choose a flatter fabric that dries quickly.

Wash and Maintain a Homemade Bathroom Rug
Wash the rug before it develops a musty smell. Regular care is easier than trying to remove deep odor later.
Follow the fabric and backing care labels. If the nonslip pad is not machine washable, remove it before laundering.
Basic care routine
- Shake out loose hair and lint.
- Wash with similar colors.
- Use the warmest water allowed by the care label.
- Avoid excess detergent.
- Dry the rug completely before putting it back.
- Clean the floor beneath the rug.
- Inspect the backing for cracks, flakes, or sticky residue.
Do not use chlorine bleach unless the care label permits it. Bleach can weaken some fibers and damage colored fabric.
The U.S. Environmental Protection Agency advises controlling indoor moisture to help limit mold growth. A bathroom rug should dry fully between uses. Hang it over a wide rail or drying rack rather than leaving it bunched on the floor.
Replace the rug if it stays damp, smells musty after washing, develops visible mold, or loses its nonslip function.

Fix Common Bathroom Rug Problems
Most problems come from moisture, movement, or uneven construction.
The rug slides
Possible causes:
- No nonslip pad
- Pad is too small
- Floor has soap or cleaner residue
- Backing is worn
- Rug is too light for the floor
Fix: Clean and dry the floor, then add a properly sized pad. If the rug still moves, choose a flatter design or replace the backing.
The rug curls
Possible causes:
- Uneven shrinkage
- Tight edge stitching
- Storage while rolled
- Backing that is too small
Fix: Press the rug flat and check the edge tension. If the problem returns after washing, resew the border or use a different fabric.
The rug smells damp
Possible causes:
- It is too thick
- It stays on the floor while wet
- It is not dried fully
- The floor beneath it remains damp
Fix: Wash the rug, dry it completely, and improve air flow. A thinner rug may work better in a poorly ventilated bathroom.
The rug falls apart
Possible causes:
- Weak seams
- Unfinished edges
- Thread that is not suited to repeated washing
- Fabric that was already worn
Fix: Sew over weak seams with a zigzag stitch. Add binding to raw edges. Replace fabric that is thin or brittle.

Common Mistakes to Avoid
Avoid these mistakes when making a bathroom throw rug:
- Skipping prewashing: The rug may shrink after sewing.
- Using a loose weave: Threads can pull out during washing.
- Making the rug too thick: It may trap water and dry slowly.
- Using fabric glue as the only support: Repeated washing can weaken the bond.
- Leaving raw towel edges: Terry cloth may shed and unravel.
- Covering a floor vent: This can restrict air flow.
- Using an untested rubber backing: It may stain some floors.
- Ignoring door clearance: A thick rug can prevent a bathroom door from closing.
- Leaving the rug bunched up: Folds increase slip risk and slow drying.
- Placing a wet rug over finished wood: Moisture can damage the floor.
The best homemade rug is not just attractive. It is flat, washable, stable, and suited to the amount of water in the room.

Key Takeaways
- Measure the floor before cutting fabric.
- Prewash all washable materials.
- Use cotton terry for absorption and canvas for durability.
- Add a properly sized nonslip pad.
- Keep the rug thin enough to dry well.
- Never use a rug that slides, curls, or stays damp.
- Wash and dry the rug often.
- Replace the rug or backing when it develops odor, mold, or damage.
Frequently Asked Questions
What is the best fabric for a bathroom throw rug?
Cotton terry is best for absorbing water near a shower or tub. Cotton canvas, microfiber, and chenille work well for decorative rugs near a vanity. The best choice depends on whether absorption, fast drying, or durability matters most.
Can I make a bathroom rug from old towels?
Yes. Old cotton towels can be joined side by side and finished with binding or a sewn border. Add a separate nonslip pad underneath, and make sure the rug dries fully after each wash.
How do I make a bathroom rug nonslip?
Place a rug pad under the finished rug. Select a pad made for your flooring, and test it in a hidden spot if you are unsure about staining or residue. Replace the pad when it becomes brittle or loses grip.
Can I machine-wash a homemade bathroom rug?
Many cotton and microfiber rugs can be machine-washed, but the fabric, thread, and backing must all allow it. Remove any backing that is not washable, and follow the care label. Dry the rug completely before use.
How often should I wash a bathroom throw rug?
Wash a rug used near a shower or tub at least weekly, or sooner if it becomes damp, dirty, or odorous. A decorative rug in a low-water area may need less frequent washing, but it should still dry fully between uses.
Why does my bathroom rug smell musty?
A musty smell usually means the rug stays damp or does not receive enough air. Wash it, dry it completely, clean the floor underneath, and consider switching to a thinner or faster-drying fabric.
Final Recommendation
For most U.S. bathrooms, make a 24-by-36-inch sewn rug from prewashed cotton or microfiber fabric. Finish the edges with durable stitching, place a compatible nonslip pad beneath it, and choose a thinner design if the room is humid or poorly ventilated.
Before using the rug, walk across it with dry feet and check every corner. If it moves, curls, or remains wet, change the backing or fabric before keeping it in the bathroom.