How To Install Garage Screen Door: Step-By-Step Guide
Install a garage screen door in a day with common tools, clear measurements, and step-by-step guidance.
I’ve installed and repaired many garage screen doors over the last decade for homes and rental properties. This guide shares practical steps, clear photos cues, and expert tips so you can install a garage screen door with confidence. You’ll learn what tools matter, how to measure, and which installation choices save time and money. Read on for simple steps, real-world lessons, and troubleshooting advice to make your new garage screen door work well for years.

Why install a garage screen door?
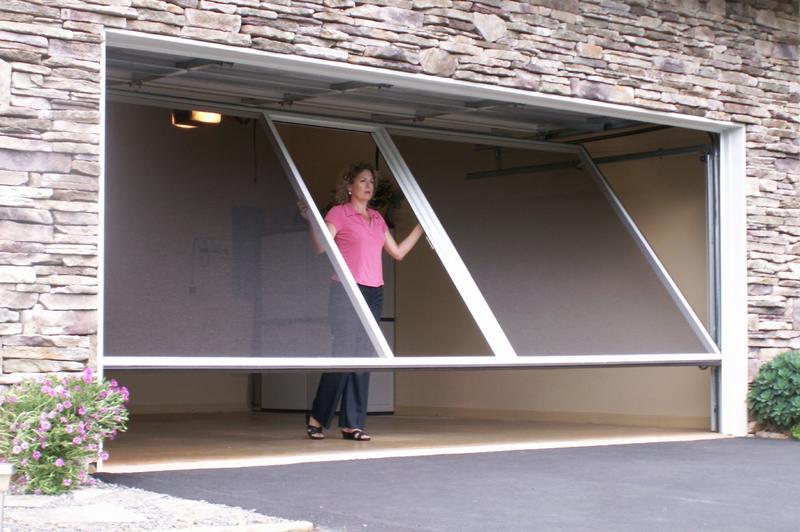
A garage screen door adds airflow, insect protection, and shade while keeping the garage usable. It turns a closed garage into a shaded porch for projects, pets, or summer gatherings. A well-installed garage screen door also saves energy by allowing natural ventilation and reducing cooling loads. If you like fresh air but want privacy and bug control, a garage screen door is a practical upgrade.
Types of garage screen doors
Choose a style that fits your door opening, budget, and desired look. Common types include:
- Retractable screens that roll up into a cassette for a hidden look.
- Sliding screens that match a double-door opening and slide on tracks.
- Pleated or folding screens that compress to one side.
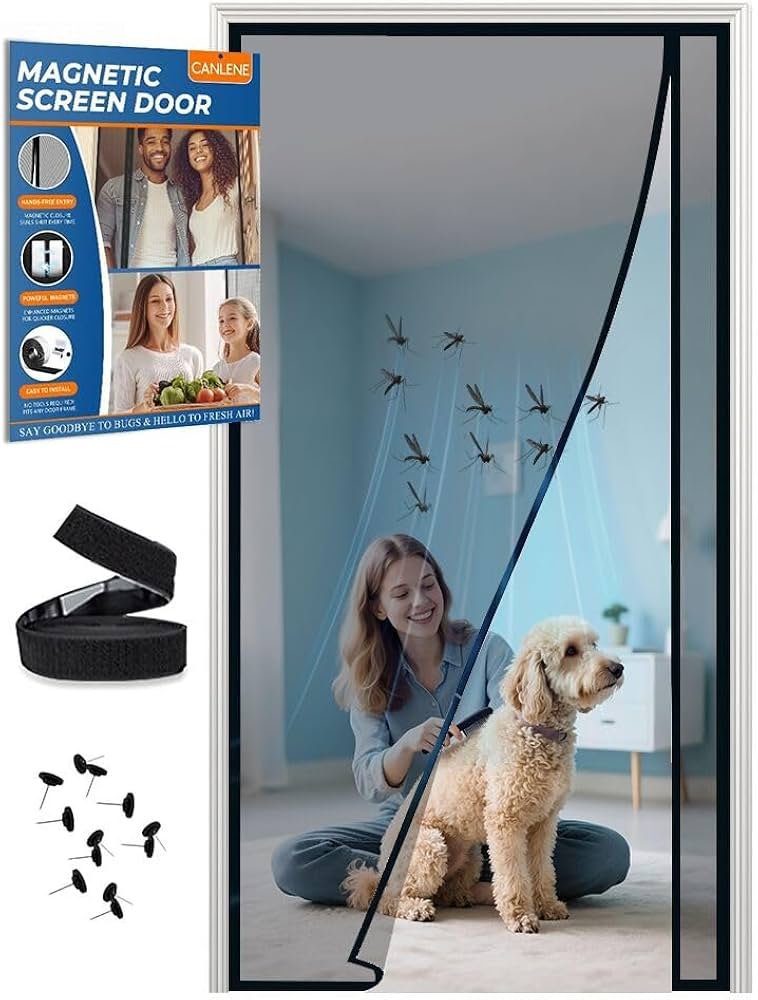
- Magnetic or Velcro-attached screens for temporary coverage.
Each type fits different door sizes and homeowner needs. Retractable screens often give the cleanest appearance while sliding screens work best for wide openings.
Tools and materials you’ll need
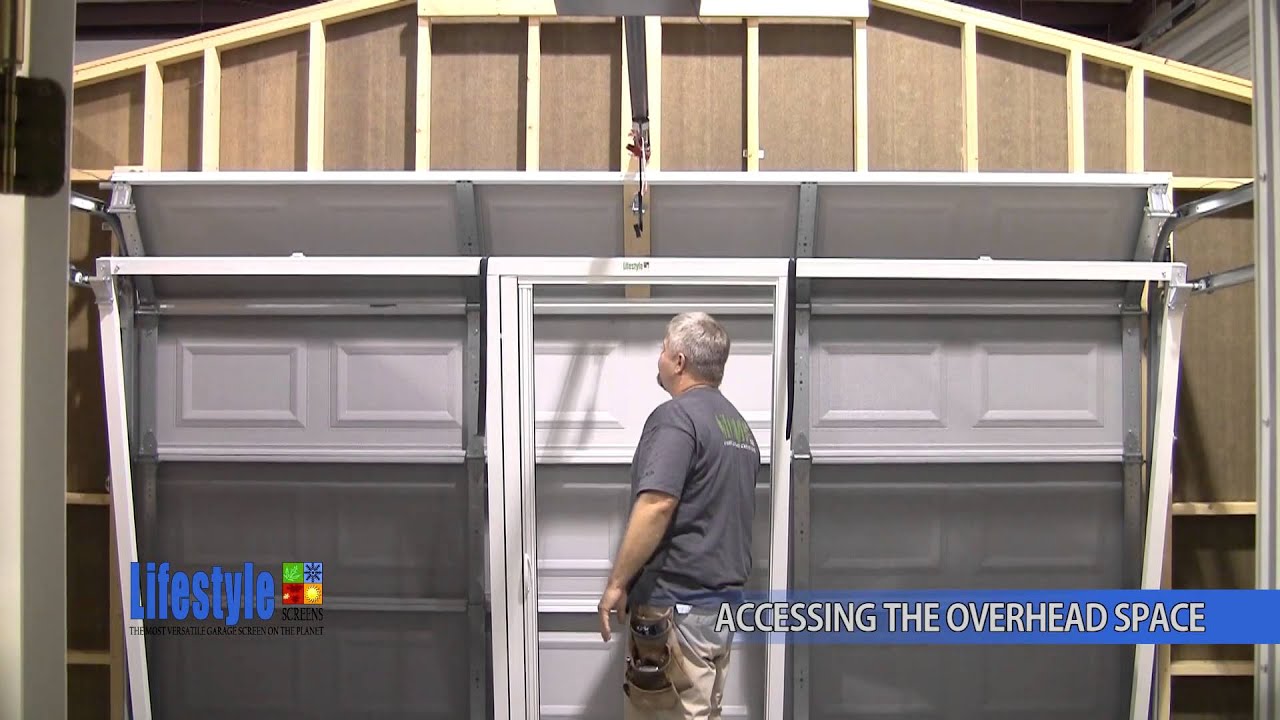
Gathering the right tools saves time and prevents mistakes. Typical items include:
- Tape measure, pencil, and level for accurate layout.
- Drill, driver bits, and screw set for assembly.
- Hacksaw or metal cutter if rails need trimming.
- Silicone sealant and weatherstripping for tight seals.
- Anchors or concrete screws for masonry mounts.
- The garage screen door kit that fits your opening.
Buy a kit sized slightly larger than your opening for trim flexibility. I always lay out parts and read the manual once before starting to reduce surprises.
Preparation and measurements
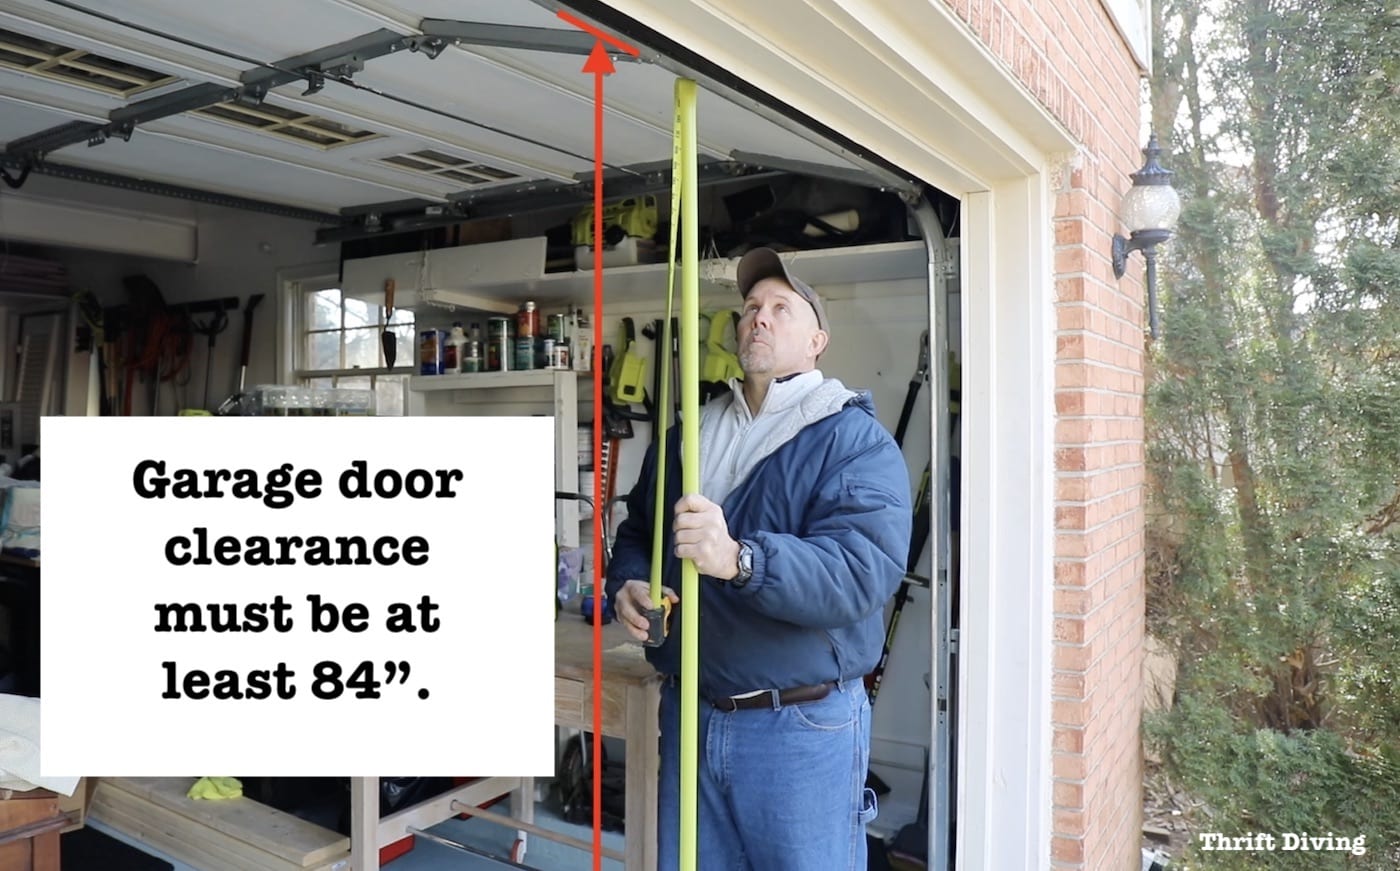
Accurate measurements make installation smooth. Measure these three dimensions:
- Width of the opening at the top, middle, and bottom. Use the smallest width.
- Height at left, middle, and right. Use the shortest height.
- Depth from face of door to inside wall for track clearance.
Check the frame for rot, dents, or obstructions. Repair or reinforce the frame before mounting a garage screen door. Clean the area and test the garage door’s movement so nothing binds when the screen is installed.
Step-by-step: How to install garage screen door
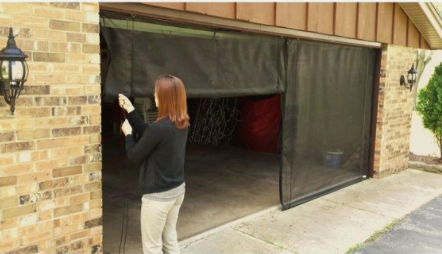
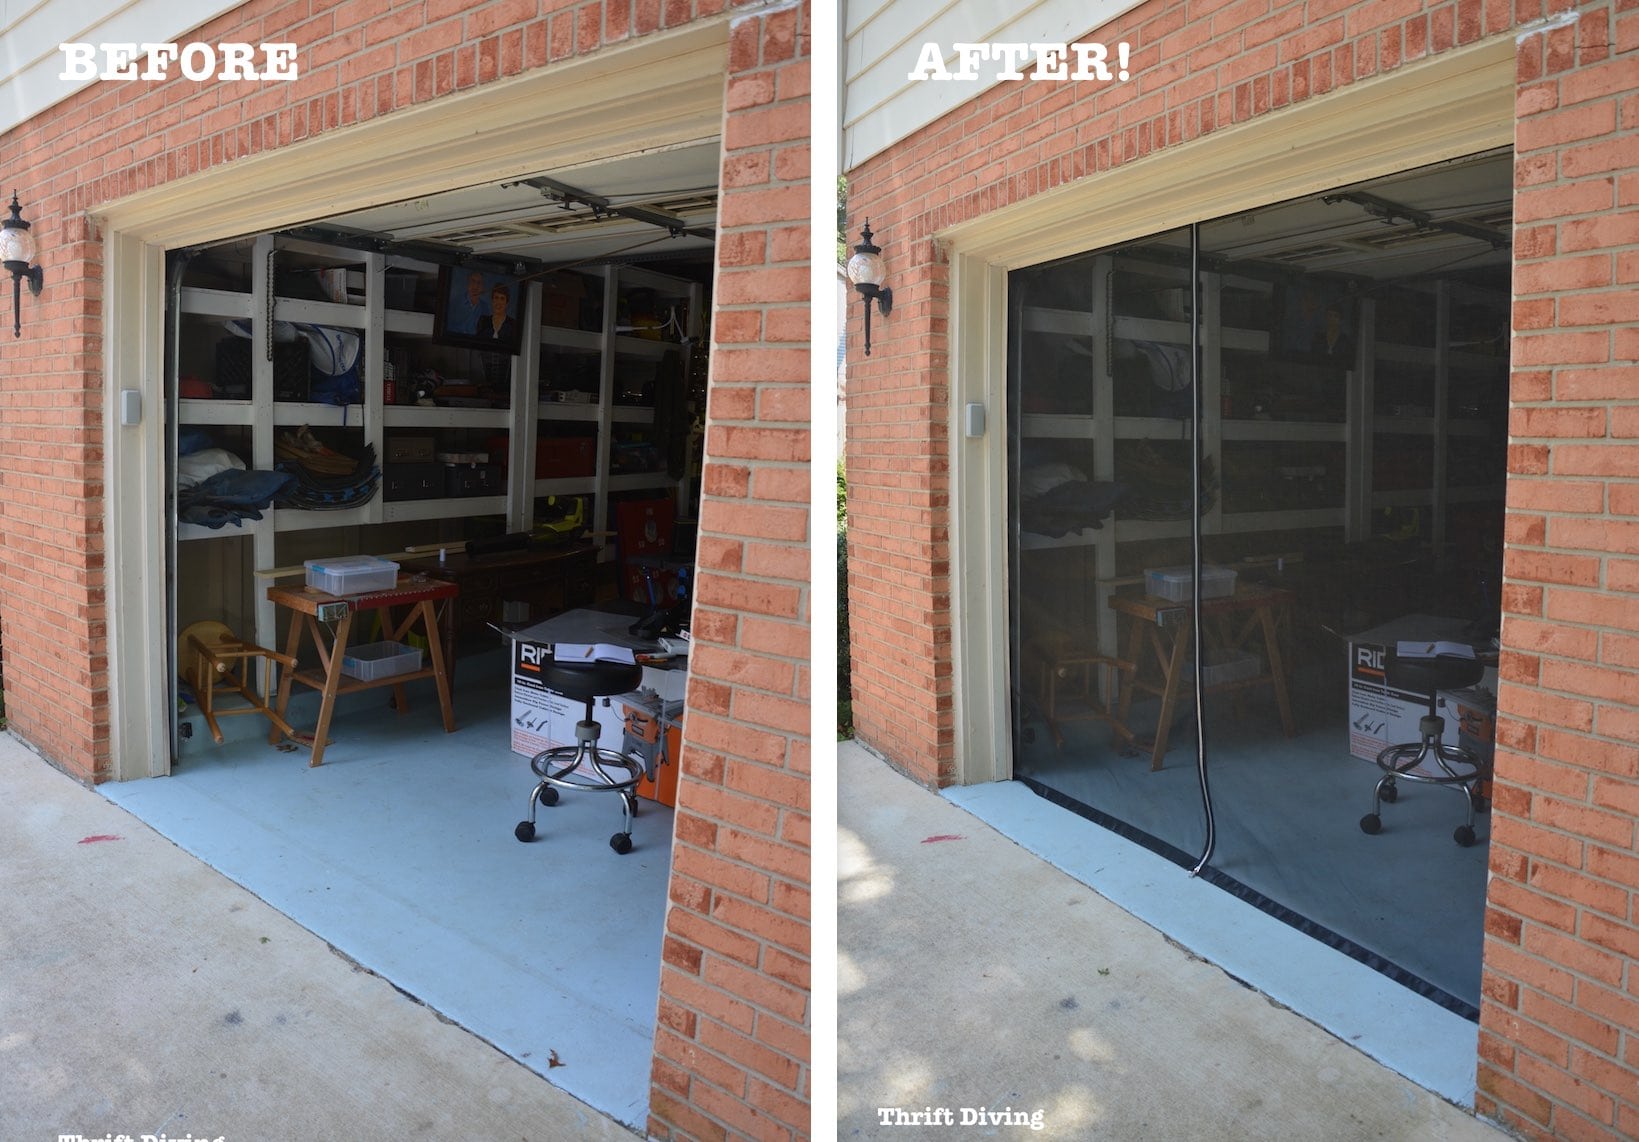
Follow these steps to install a typical retractable or sliding garage screen door. Read your kit instructions first. Steps below apply to most installs.
-
Prepare the opening
- Clear the work area and put down drop cloths.
- Remove moldings or hardware that will interfere.
- Verify level and square with a level and a framing square.
-
Lay out the rail and cassette
- Place the top cassette (for retractable) or header rail in position.
- Mark mounting locations using a pencil through the pre-drilled holes.
- Use anchors suitable for your wall material when mounting.
-
Install the top cassette or header
- Drill pilot holes where you marked.
- Fasten the cassette securely with recommended screws.
- Check that the cassette is level across the opening.
-
Install side tracks or guide rails
- Attach the vertical tracks to the jambs or framing.
- Ensure tracks are plumb and parallel.
- Trim rails if needed to match the opening height.
-
Mount the bottom bar and attach the screen
- Feed the screen into the top cassette or slide it into the header.
- Pull the screen down into the side tracks slowly.
- Secure the bottom bar and confirm smooth travel.
-
Adjust tension and stops
- Set the spring tension or roll tension per the kit instructions.
- Install top and bottom stops to prevent over-travel.
- Test the screen several times to ensure even operation.
-
Seal and finish
- Apply silicone sealant where the cassette meets the frame.
- Add weatherstripping at the bottom if your kit recommends it.
- Reinstall trim or touch up paint as needed.
I once rushed a tension adjustment and warped the screen edge. Take your time on tension. Small adjustments prevent big headaches.

Common installation mistakes and how to avoid them
Avoid these simple but costly errors when you install a garage screen door.
- Poor measurements that lead to a too-tight or too-loose fit. Measure twice and use the smallest dimensions.
- Skipping level and plumb checks. A crooked cassette or track causes jams.
- Using wrong anchors for masonry or hollow frames. Match anchors to material.
- Over-tightening screws into plastic parts. Hand-finish screws to avoid cracking.
- Ignoring clearance for the garage door. Check operation before final sealing.
Learning from mistakes is part of the process. I keep a checklist on my phone now to avoid repeating errors.
Troubleshooting and adjustments
If your garage screen door binds, sags, or won’t stay closed, try these fixes:
- Screen catches in track — clean the track and remove debris. Check for dents and straighten rails.
- Uneven travel — loosen fasteners, reposition cassette or track, then retighten.
- Bottom bar won’t seal — add weatherstripping or adjust stops for a snug fit.
- Screen rolls unevenly — adjust roll tension in small steps until even.
Q: Can I retrofit any garage door with a screen?
A: Many openings accept a retrofit screen, but very irregular or damaged frames may need repair or custom work.
Q: How long does installation take?
A: Most DIY installs take 3 to 6 hours for a single door when you have good measurements and the right tools.
Q: Will a screen block my garage door sensors?
A: Properly installed screens sit outside the opener path and usually do not interfere. Test automatic openers after installation to confirm.
Maintenance and longevity tips
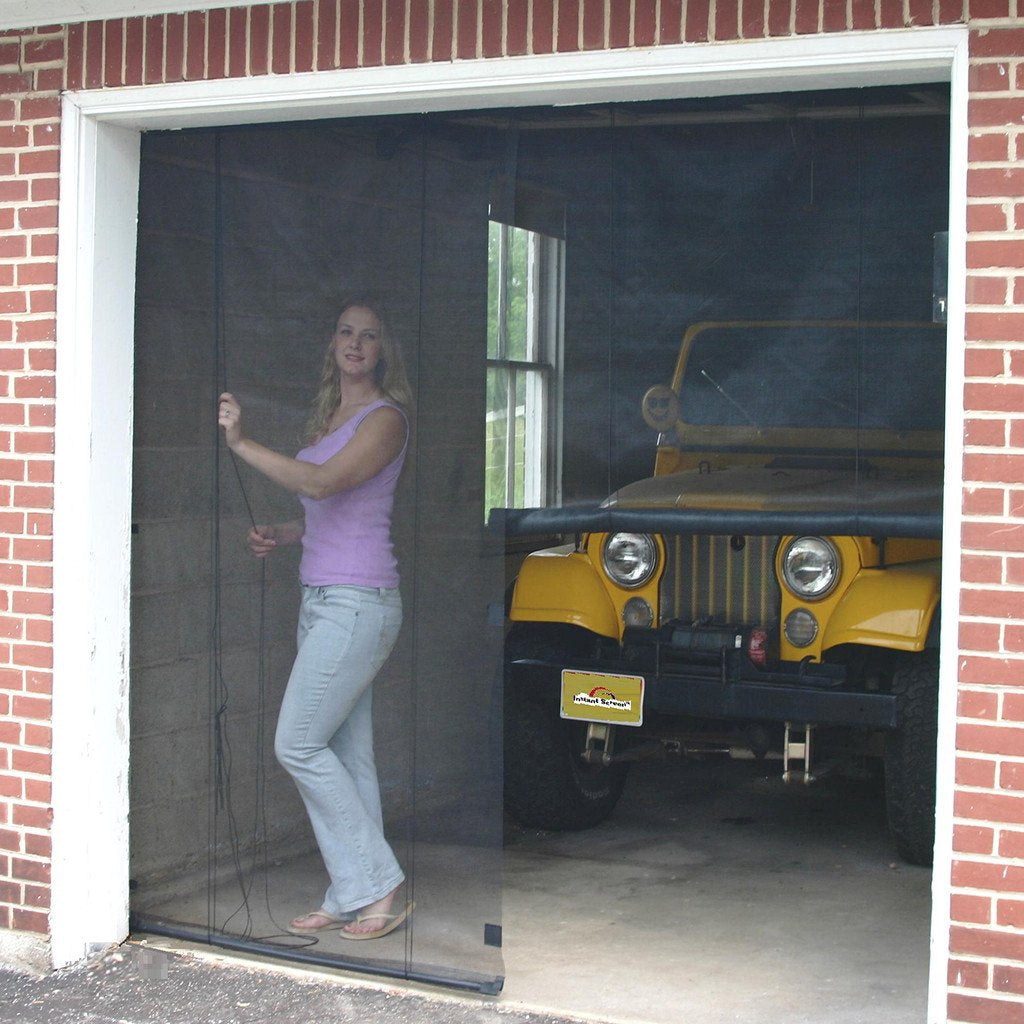
Routine care makes a garage screen door last longer. Do these simple tasks every season:
- Clean tracks and wipe down the mesh to prevent grit build-up.
- Lubricate moving metal parts with a light silicone spray.
- Check fasteners and adjust tension as needed.
- Replace torn mesh early to stop small rips from growing.
I recommend a quick visual check monthly and a full tune-up twice a year. Preventive care avoids costly replacements later.

Cost, time, and when to hire a pro
A DIY garage screen door saves money but needs time and patience. Typical factors:
- Materials for a basic retractable kit range widely depending on size and quality.
- Expect 3–6 hours for DIY installation, longer for larger openings.
- Hire a pro if your opening is irregular, the frame is damaged, or if you lack power tools.
Hiring a pro brings warranty, faster install, and trouble-free adjustment. I hire professionals for complex retrofits, and do DIY for standard openings.
Frequently Asked Questions of how to install garage screen door
How do I measure for a garage screen door?
Measure width at top, middle, and bottom and use the smallest number. Measure height at left, center, and right and use the shortest height. Also measure depth from face of the frame to any obstruction.
Can I install a garage screen door myself?
Yes, many homeowners can install a garage screen door with common tools and careful measurement. Choose a kit that matches your skill level and read the instructions fully before starting.
What tools are essential for the installation?
A tape measure, level, drill with bits, driver, and anchors are essential. A hacksaw for trimming rails and sealant for finishing help a smooth job.
How do I adjust a sagging screen?
Check track alignment and cassette level first. Adjust roll tension and retighten mounting hardware after repositioning the rails.
Is a retractable garage screen door weatherproof?
Most screens resist light weather but are not full storm barriers. Use weatherstripping and sealants to improve protection and reduce drafts.
How long should a garage screen door last?
With proper maintenance, a quality garage screen door can last 5–10 years or longer. Lifespan depends on material, usage, and exposure to sun and wind.
Conclusion
A well-planned install makes a garage screen door a valuable, practical addition to your home. Measure carefully, pick the right type, and follow clear steps to avoid common pitfalls. Start with the right tools, take your time on tension and alignment, and do seasonal checks. Try one simple project this weekend, and share your results or questions below. If you want extra help, consider a professional tune-up or installation for complex openings.